How to start and use a bullet journal: a simple, no frills, real life guide.
This much requested post will explain the basics of exactly how to create and use a bullet journal. If you follow me on social media, you have probably seen my bullet journal a lot. However, what you have seen are all of my prettiest pages. What you haven’t seen is how I use the bullet journal in my daily life (which– spoiler alert–isn’t as pretty!) There are a lot of posts out there on how to bullet journal–this one will be different because I purposely chose to show you the simple, everyday pages that are real life–ink smears and all. ANYONE can make, use and maintain a bullet journal and I hope this post shows you that!
What is a bullet journal?
A bullet journal is essentially using a plain notebook to create a planner. The reason why I LOVE bullet journaling is because yes, it is a planner, but it also so much more and can be whatever you want or need it to be! It can be a sketchbook, a diary, a calendar, a fitness journal, a food log, any combination of these and more!
There are SO many ways to make a bullet journal. This post simply shows the method that I enjoy. I encourage you to look for ideas on Pinterest or Instagram and try some out until you find a method that you like. This is my fourth bullet journal and I am still constantly trying out new things and changing it up!
Bullet Journal Supplies
You can literally use a plain spiral notebook and a pencil to start bullet journaling! That is the beauty of the system–it is completely customizable!
Personally, I use the Leuchtturm1917 dotted grid journals. I have gone through four of these and (obviously) really like them! They come in ton of colors, are durable and I love the dotted grid. They are a little more pricy though (around $20) so here and here are some cheaper options.
As for pens, my favorite to write with are Paper Mate Flairs. I also really love the Staedtler Triplus Fineliner Pens because they don’t smear at all!
How to set up your bullet journal:
The first pages:
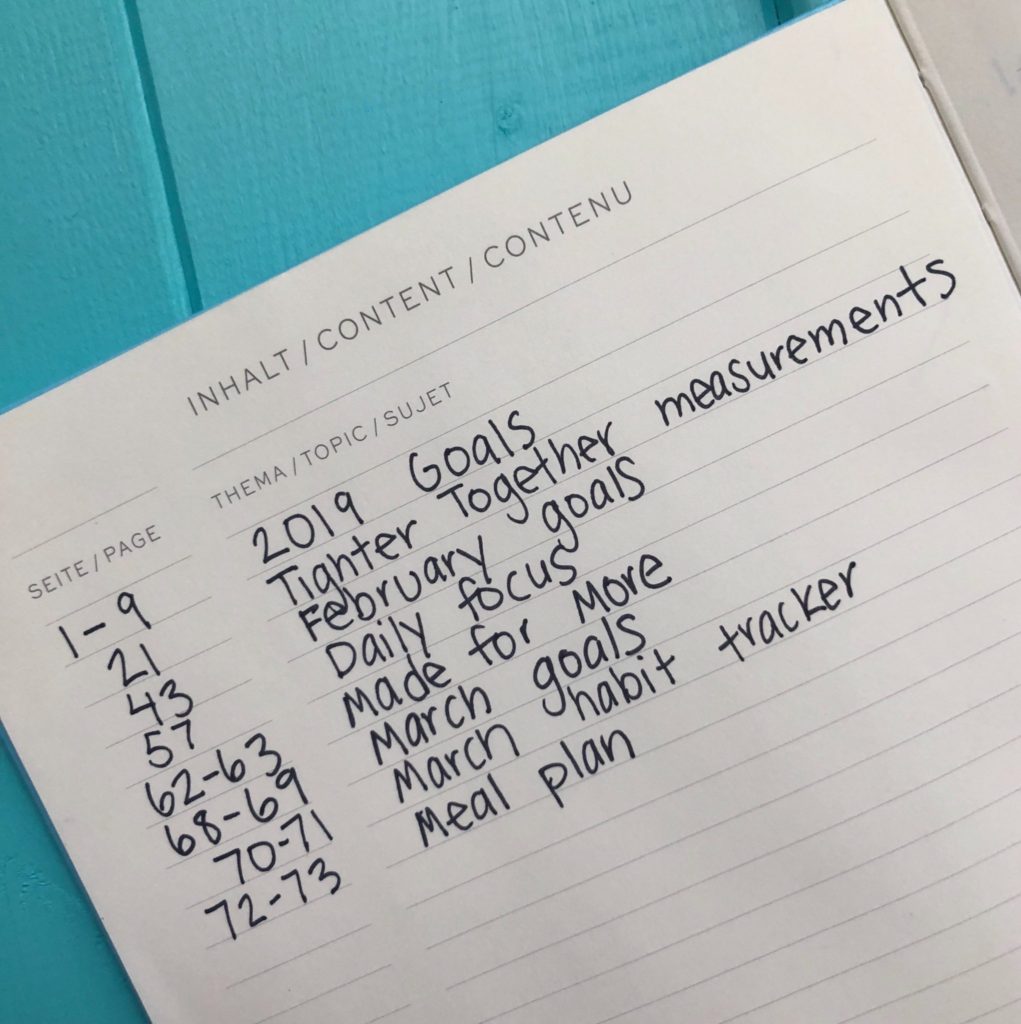
The very first pages in your bullet journal (if using a Leuchtturm1917) are an index. Some people write down what is on every.single.page. I find that tedious, so I just write down any pages that I will want to refer back to over and over again. This is a page that you will add to throughout the year.
The first “real” page that I include in my bullet journal is a key. A key shows the symbols that I will use to make my daily lists of tasks. I’ve seen people who use TONS of different symbols, but I think that these are plenty and I’ve never felt the need for more.
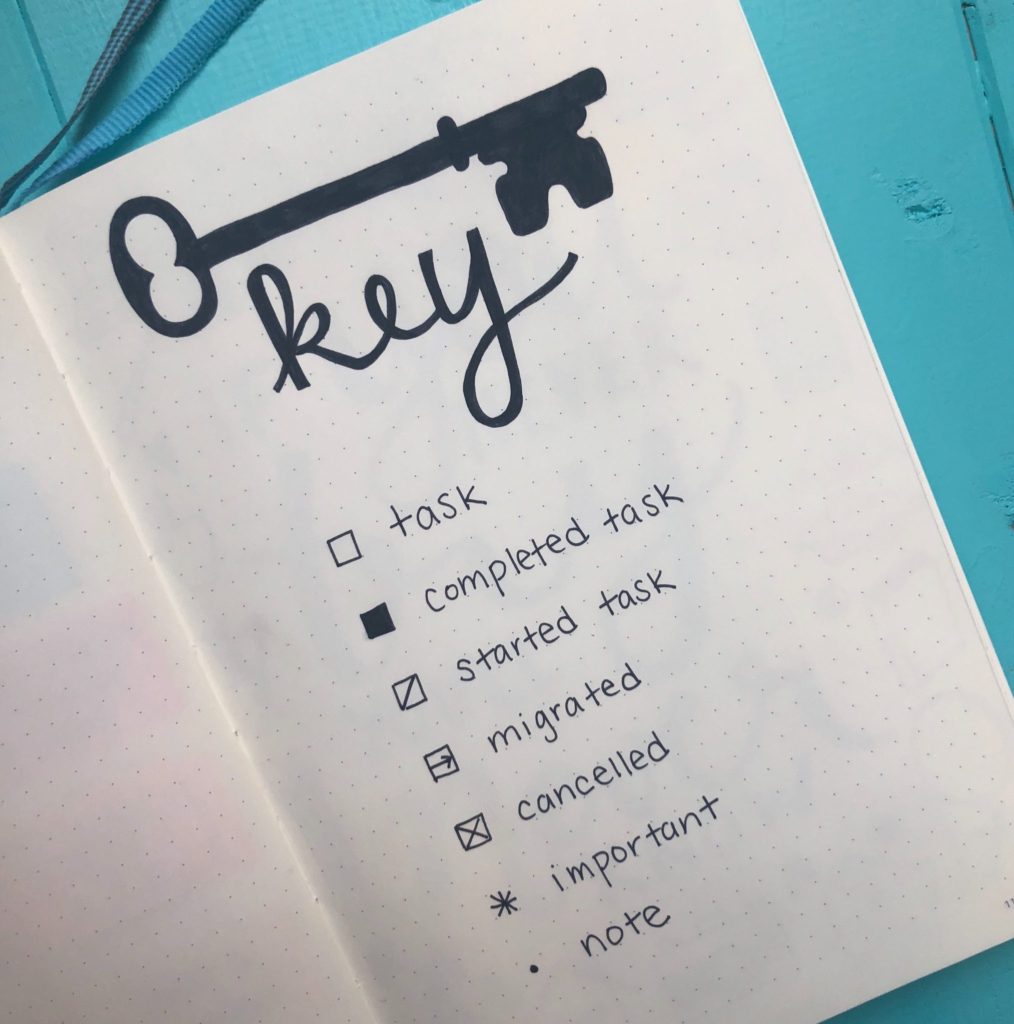
I use an open box for any task, meeting, appointment, etc. When it is complete I color it in. If I start the task, but don’t finish it, I draw one diagonal line. An arrow is drawn if the task is “mirgrated” or moved to a different day. An ‘x’ denotes a cancelled event or task that I didn’t do. I use an asterisk to mark important events and a dot to write notes.
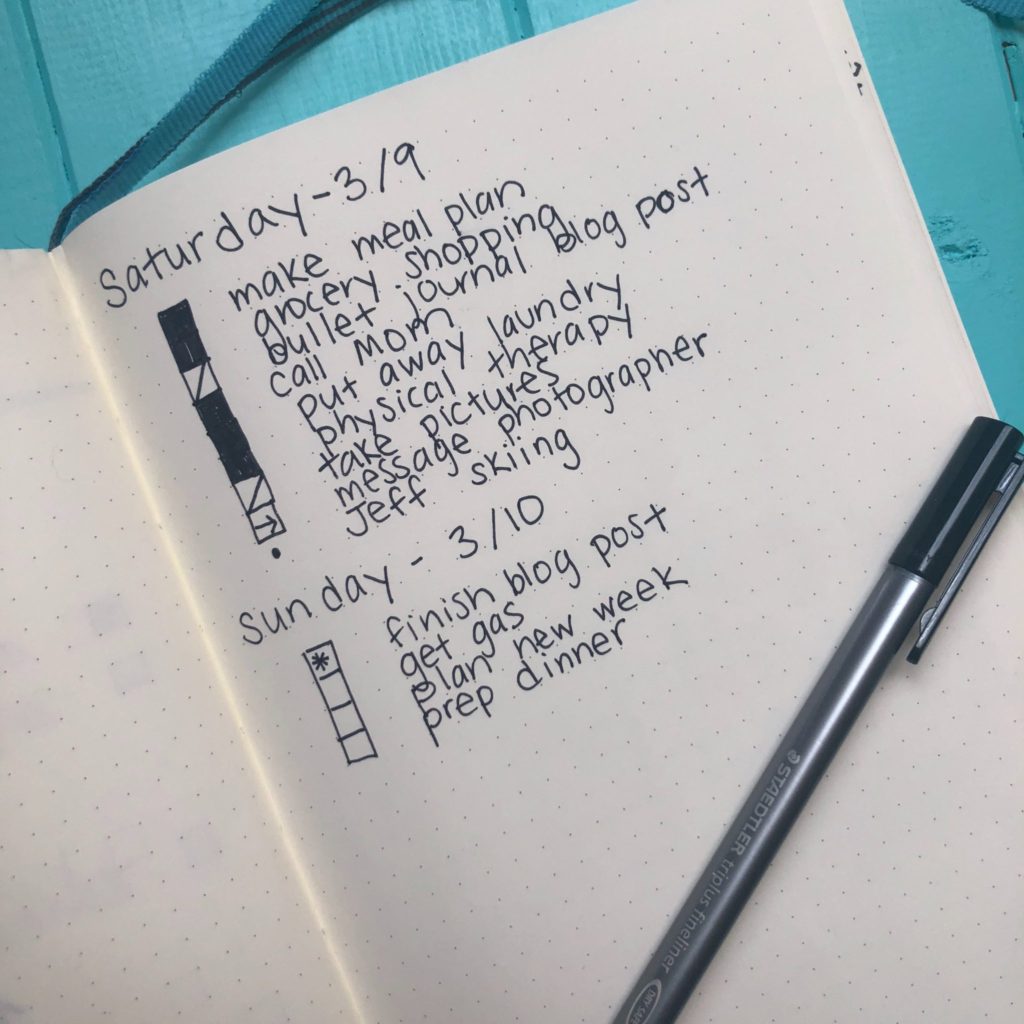
Here is an example of how I use these symbols on a daily page (I explain more about daily pages further down on this post):
Monthly Pages
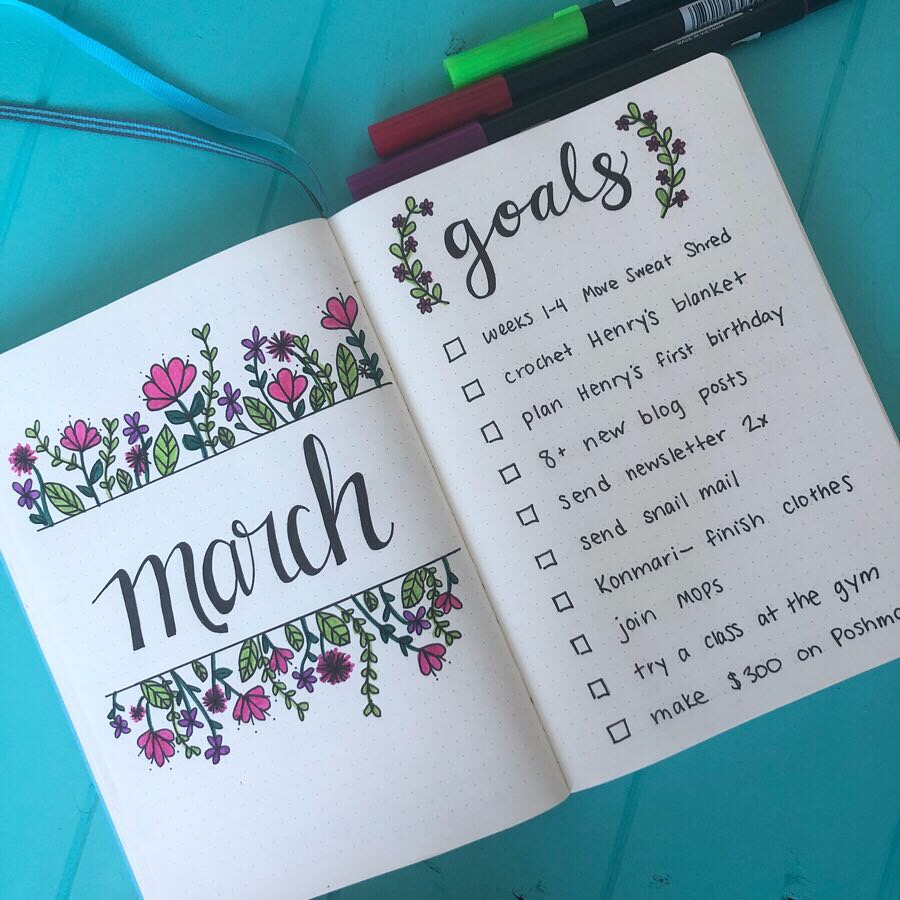
I separate my bullet journal by months. At the beginning of each month I always include the same few pages. The first page of the month is almost always my monthly goals:
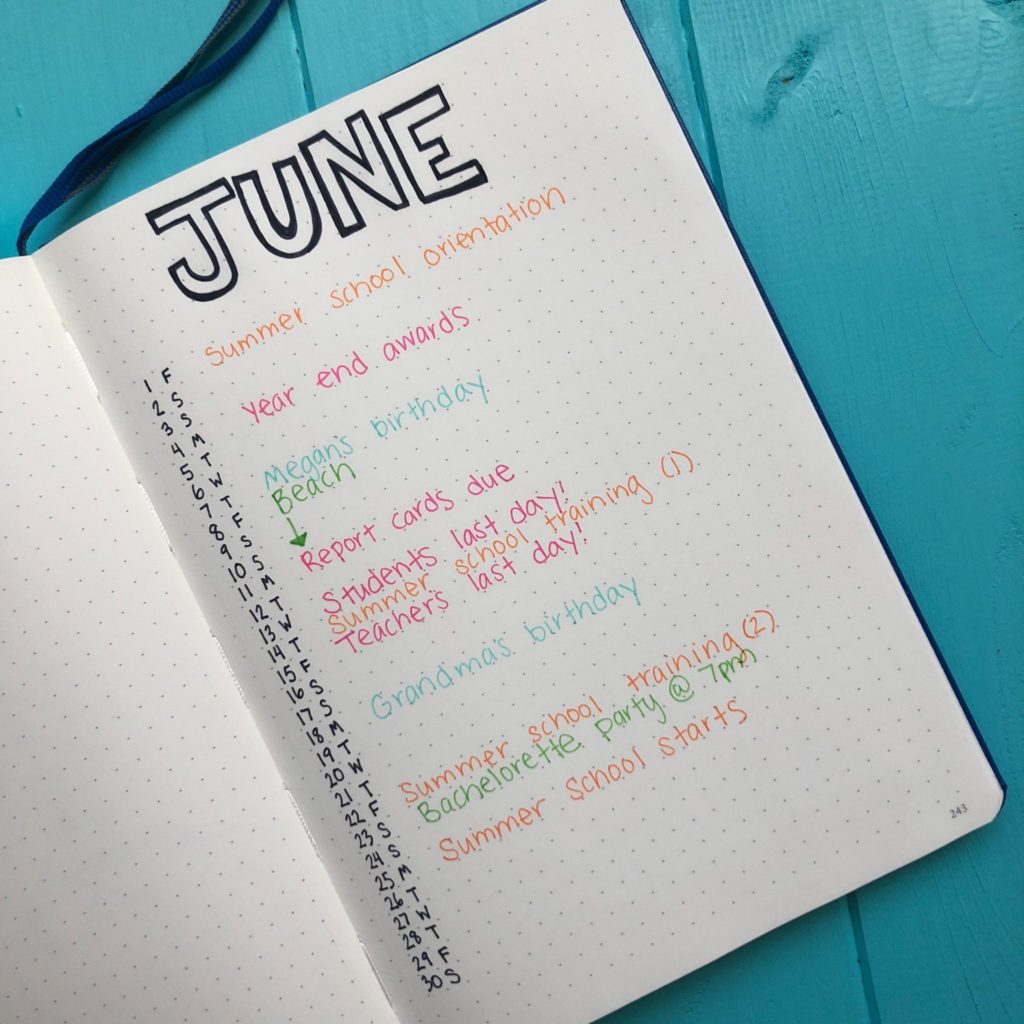
Next, I include a monthly “calendar”. Again, I choose a really simple way of doing this because drawing a calendar every month isn’t very fun!
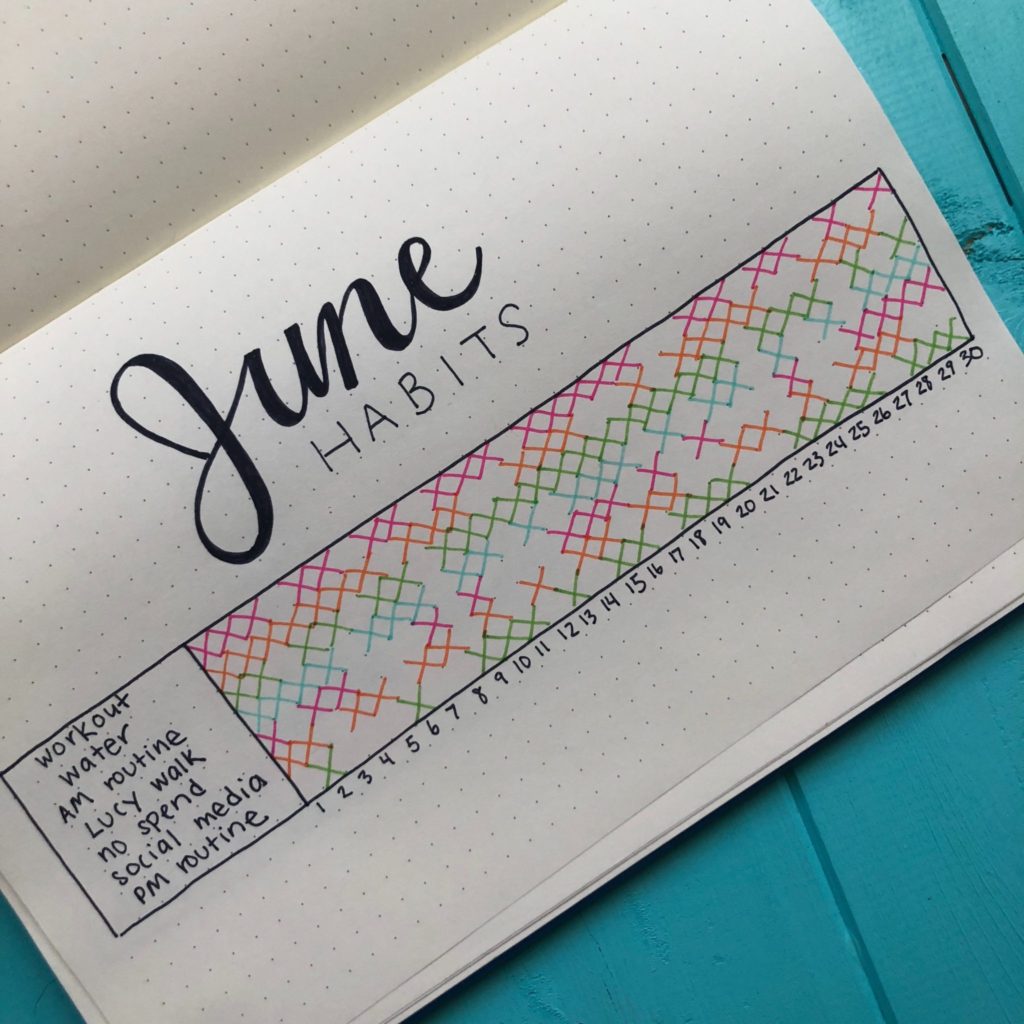
The last page that I add every month is a habit tracker. I choose habits that are aligned with my monthly goals that I want to focus on for the month. I don’t make these with the intention of doing each habit EVERY day. But it does help keep me focused on my goals and can be interesting to see patterns!
Daily Pages
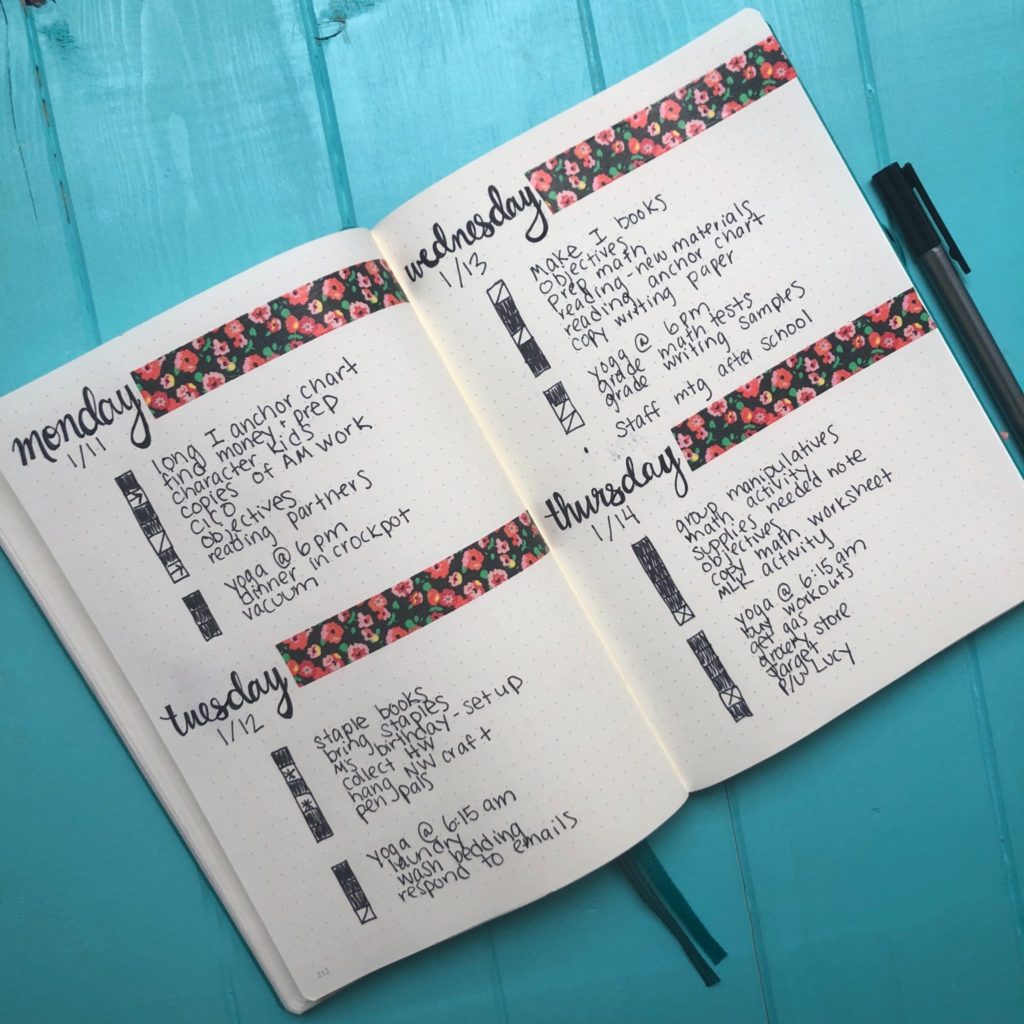
Daily pages, in my opinion, are the best part of having a bullet journal! This is where you will use the symbols that you decided to use in your key. Each day you will use these symbols to create a list of tasks that need to be accomplished.
There are a million ways that you can set up your daily pages. I’ve tried a lot of different ways. This is my favorite way, when I have time to make it look nice:
However, I defintley do NOT have time to do this every week! Many weeks it looks a lot more like this:
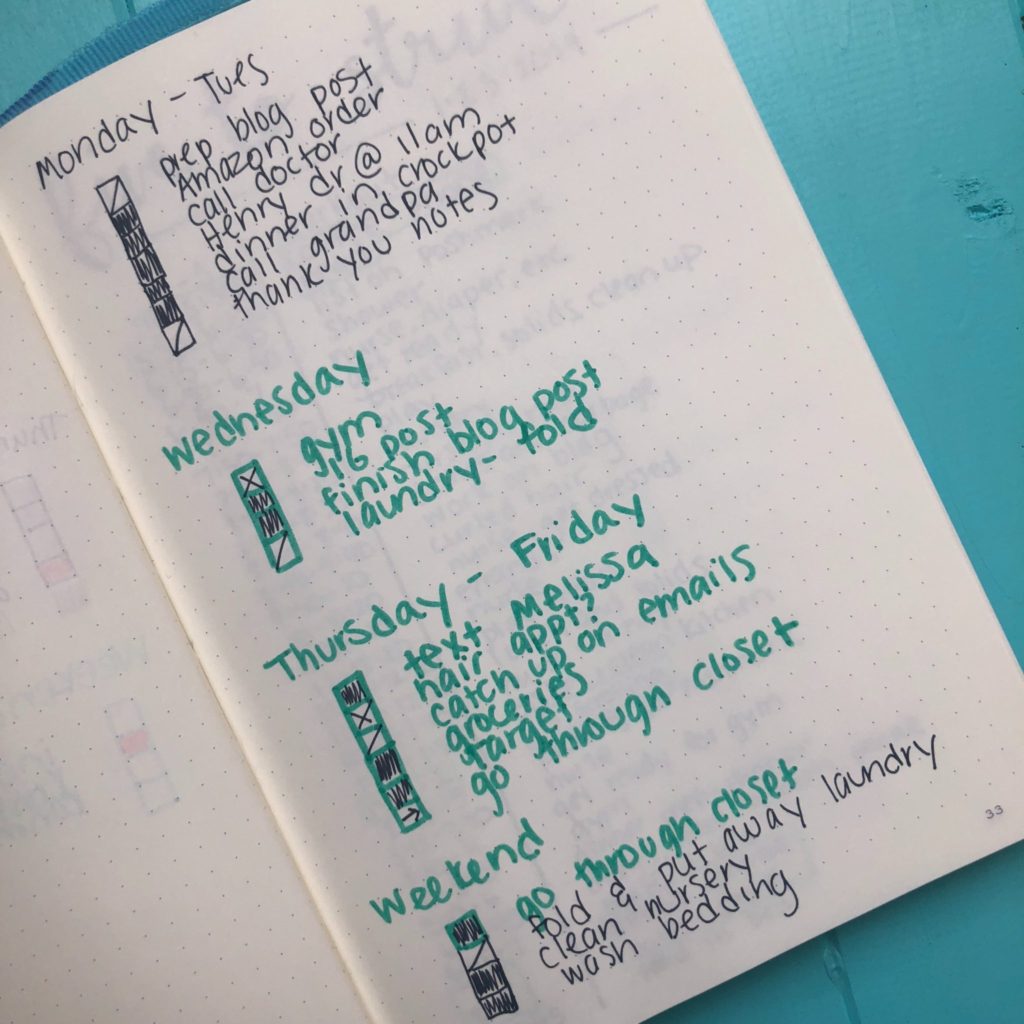
Remember, the whole point of this system is that it helps you be productive and organized! It does not always have to look Instagram worthy!
Collections
These are the “pretty” pages that I typically show on Instagram. I think of collections as pages that I will want to keep to refer back to many times. I personally choose to spend a little more effort on these pages but you absolutely don’t have to!
Collections can go anywhere in your bullet journal. I typically just put them on the next clean page. They are usually pages that I mark on my index so I remember where they are!
You will notice that many of my collections have to do with goals, wellness, health and fitness because those are MY personal interests! If those things don’t interest you–please don’t include them!!
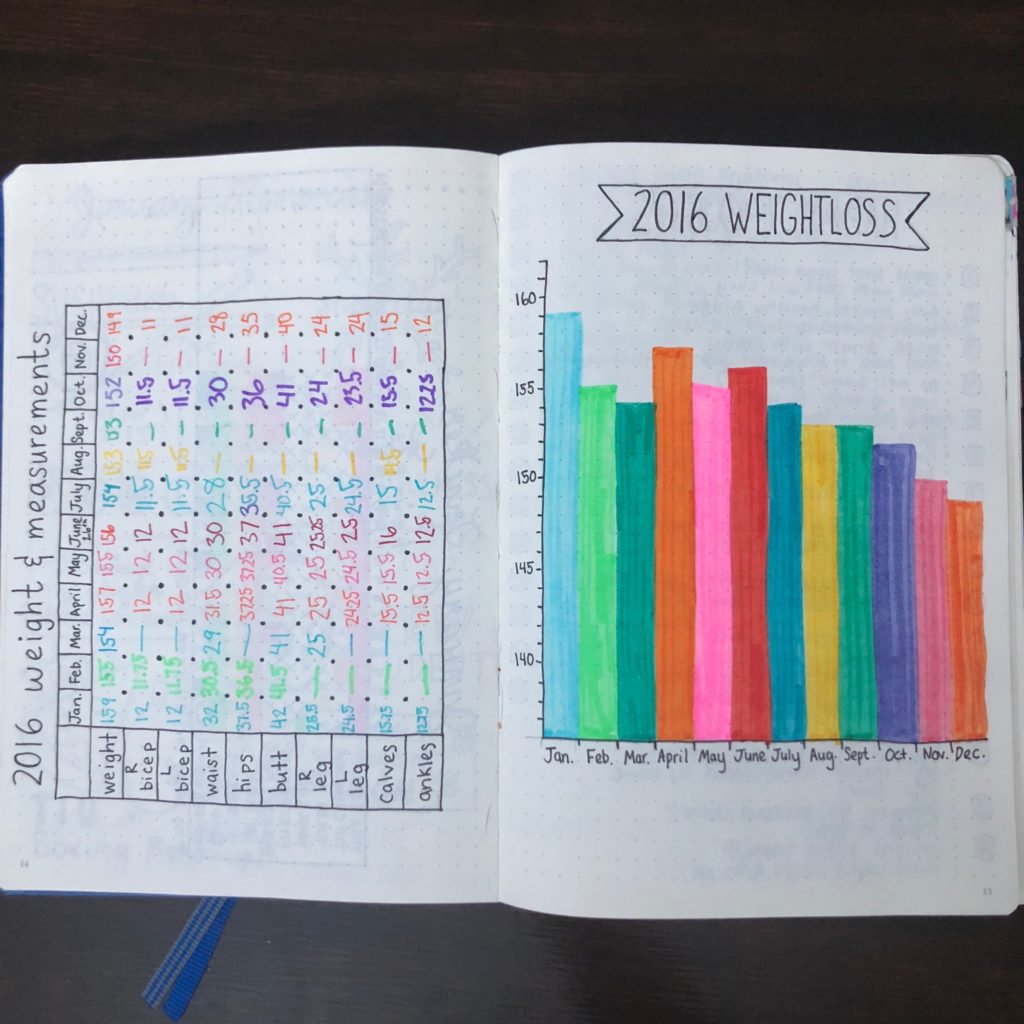
When I am choosing collections to add to my bullet journal it is typically to help me solve a problem. Want to lose weight? Add a weight loss spread. Want to read more? Add a spread for books you’ve read. Want to get better at meal planning?…you get the point
Some collections from my bullet journal:
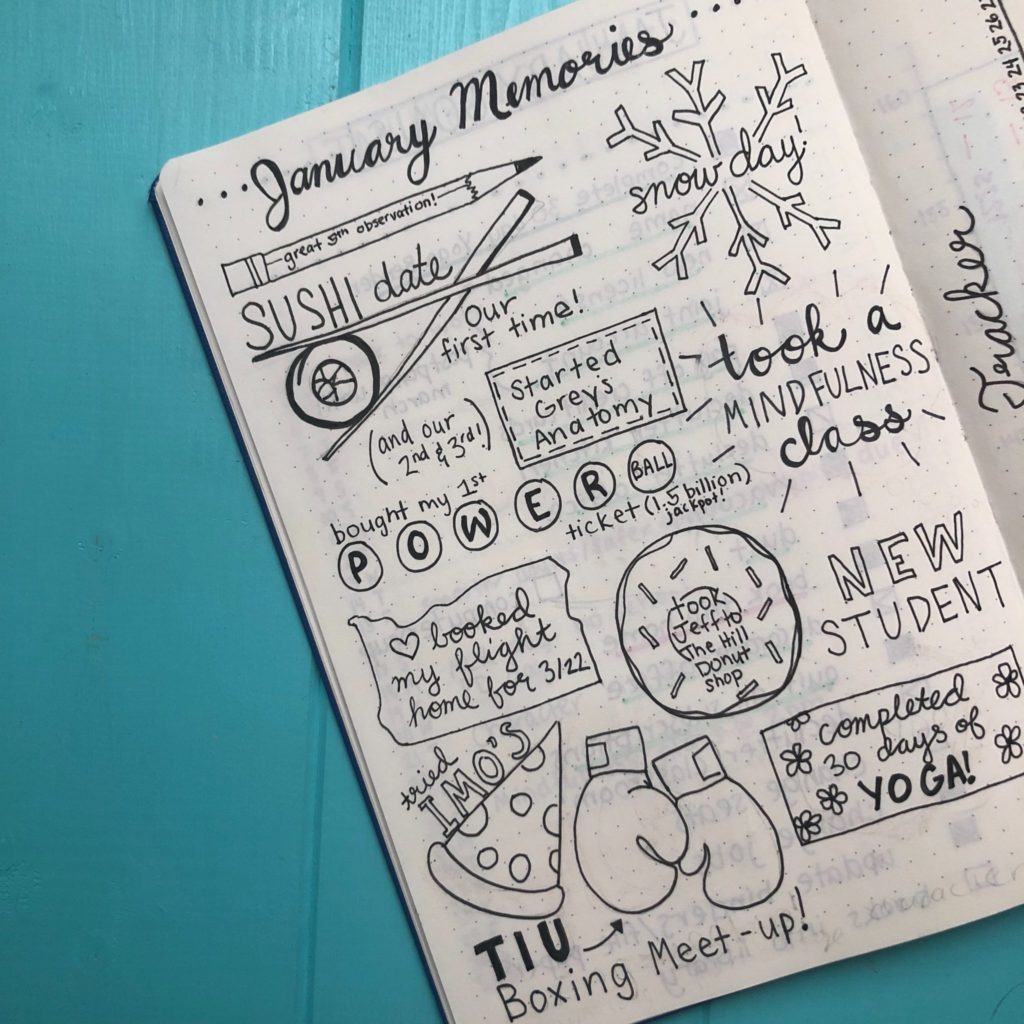
Monthly memories:
Weight loss tracker:
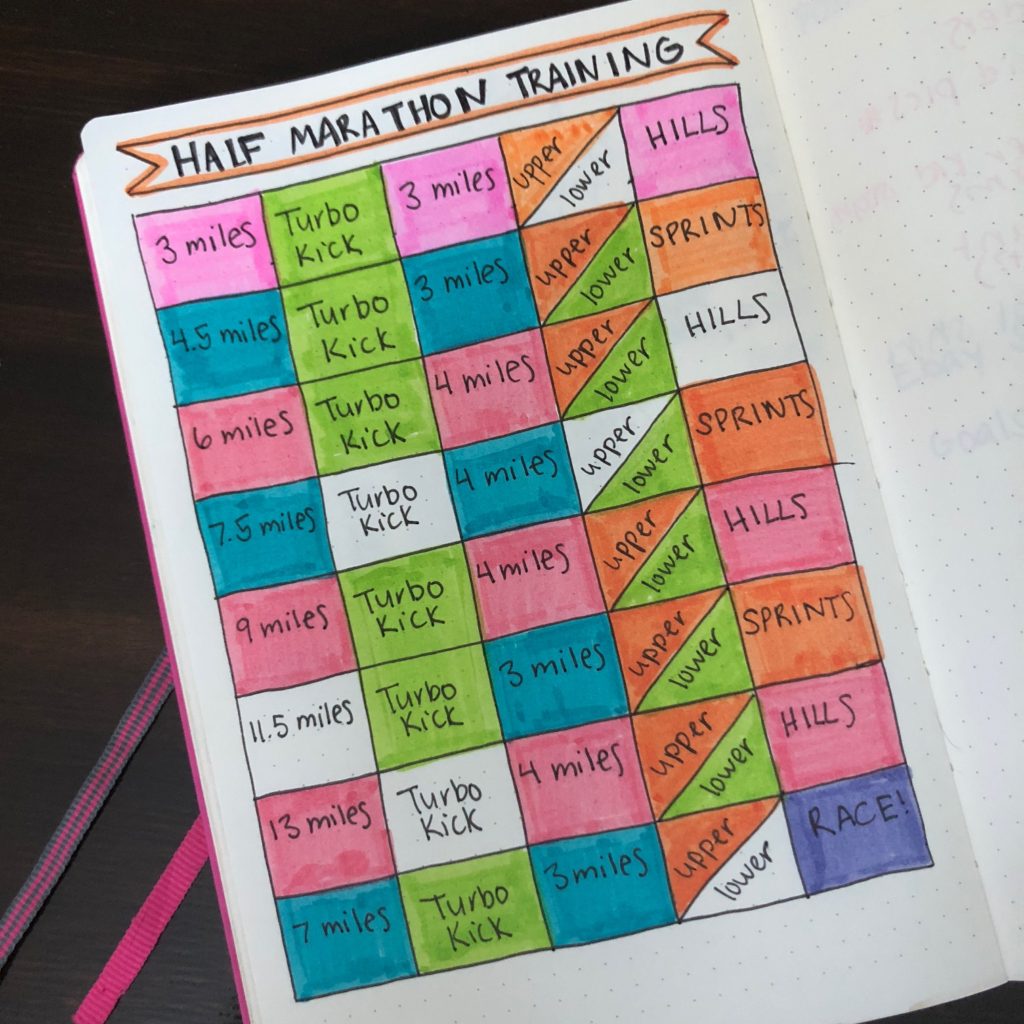
Half marathon training schedule:
Yearly goals:
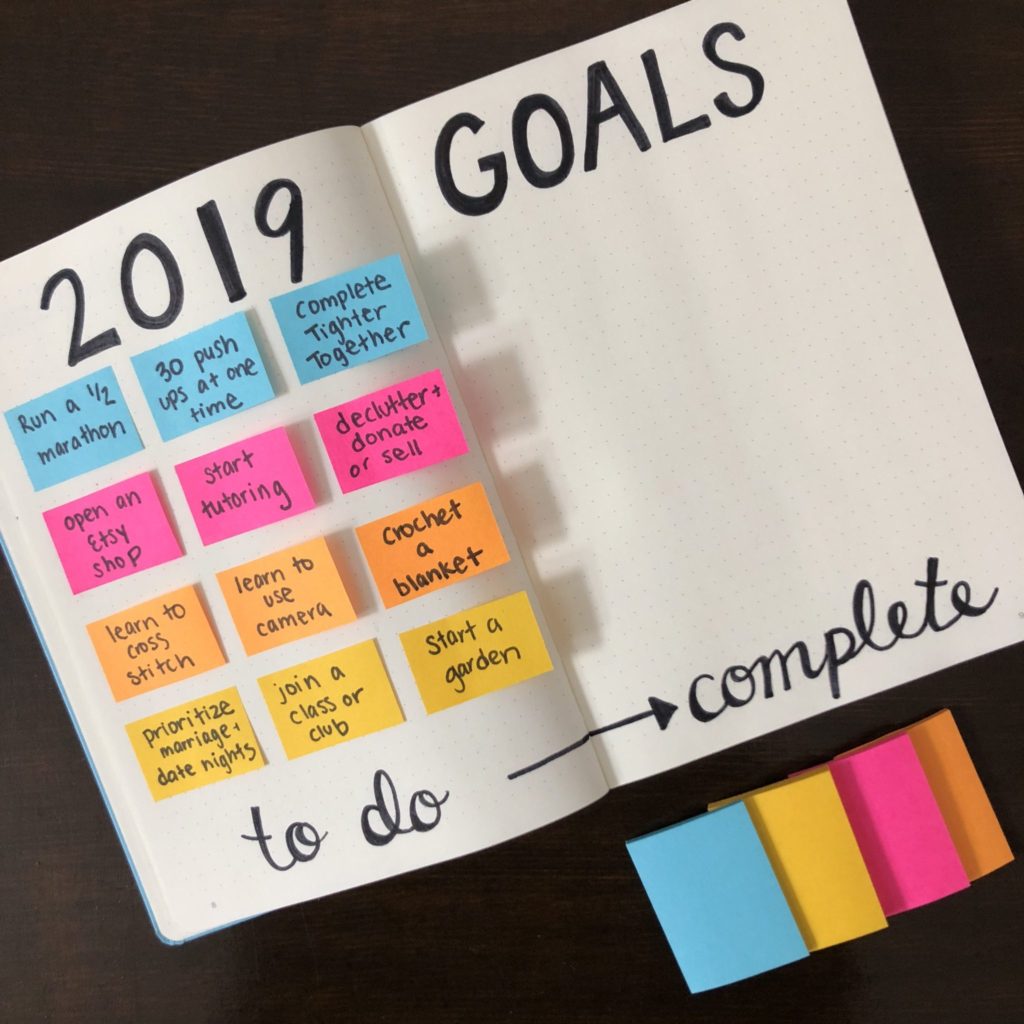
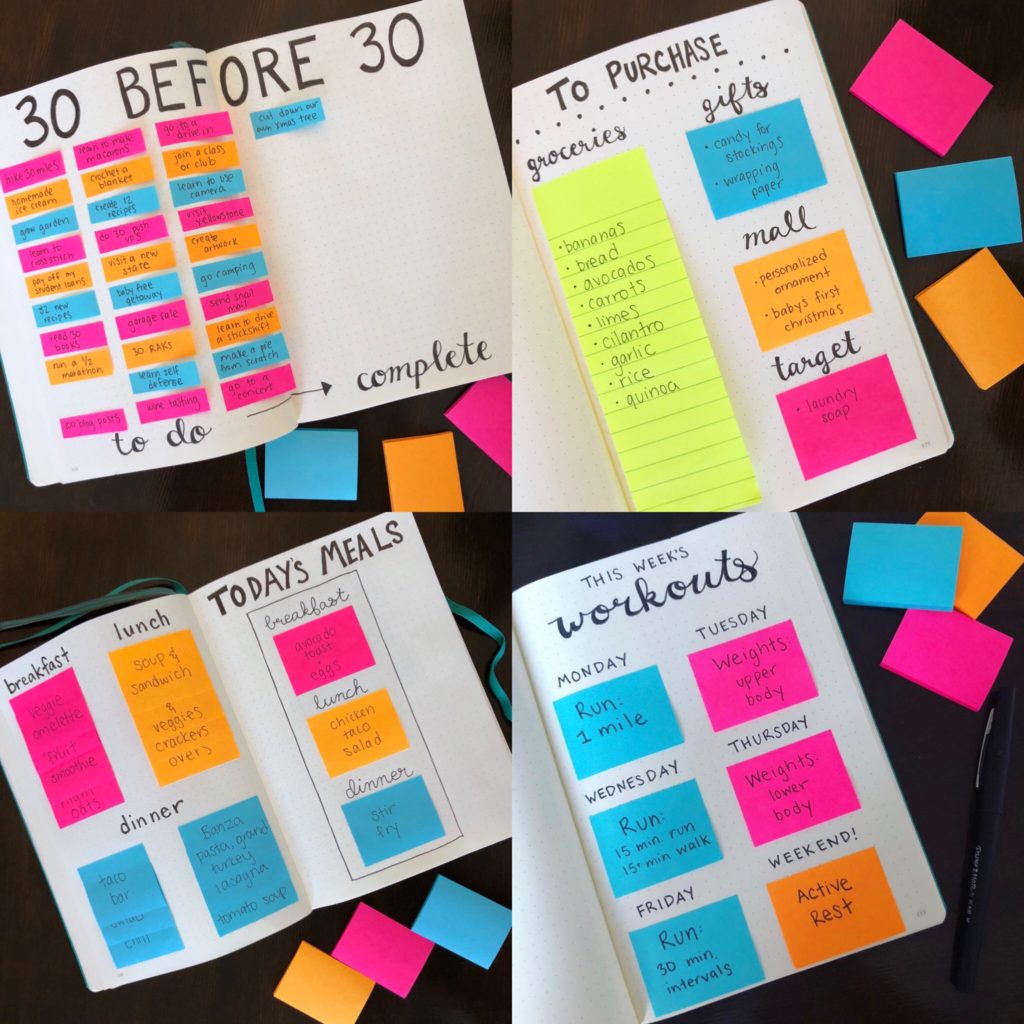
Any of my spreads using sticky notes! Bucket lists, shopping lists, meal plan or workout schedules:
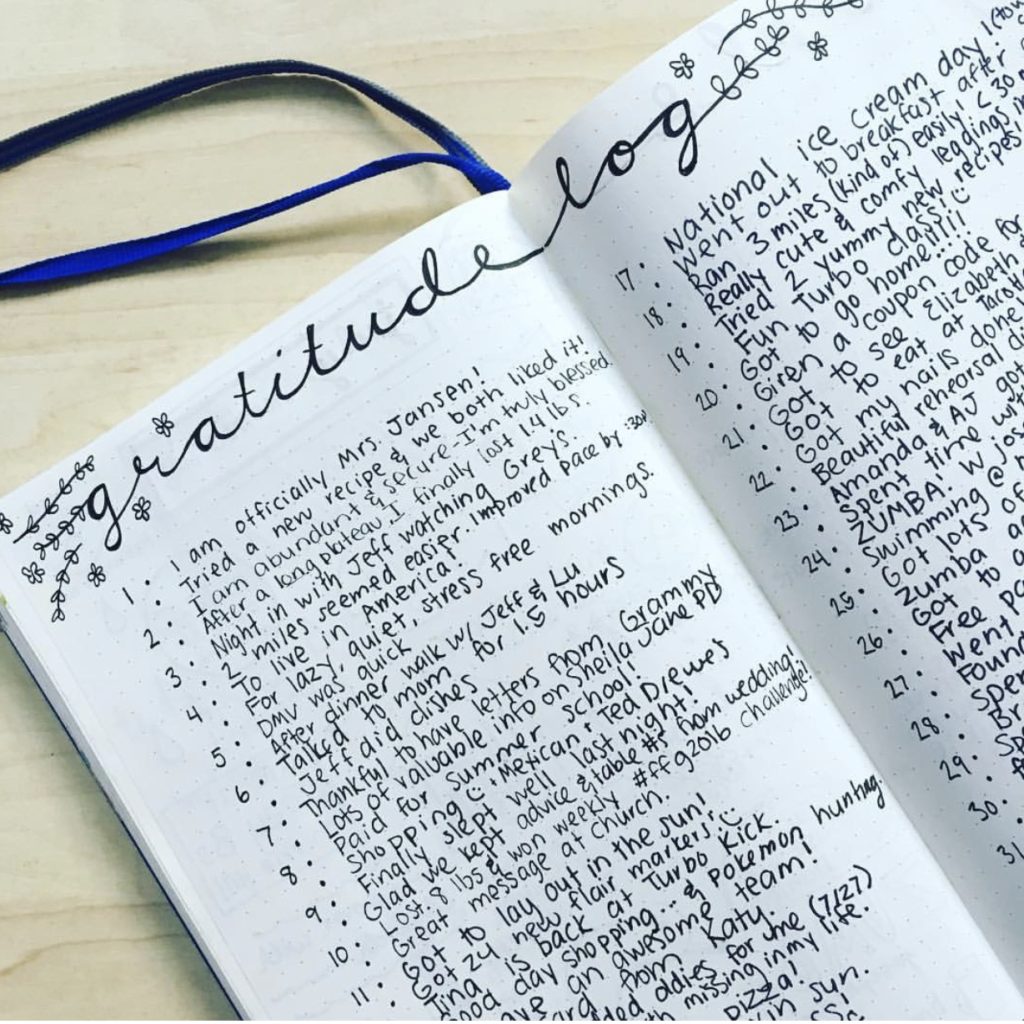
Gratitude log:
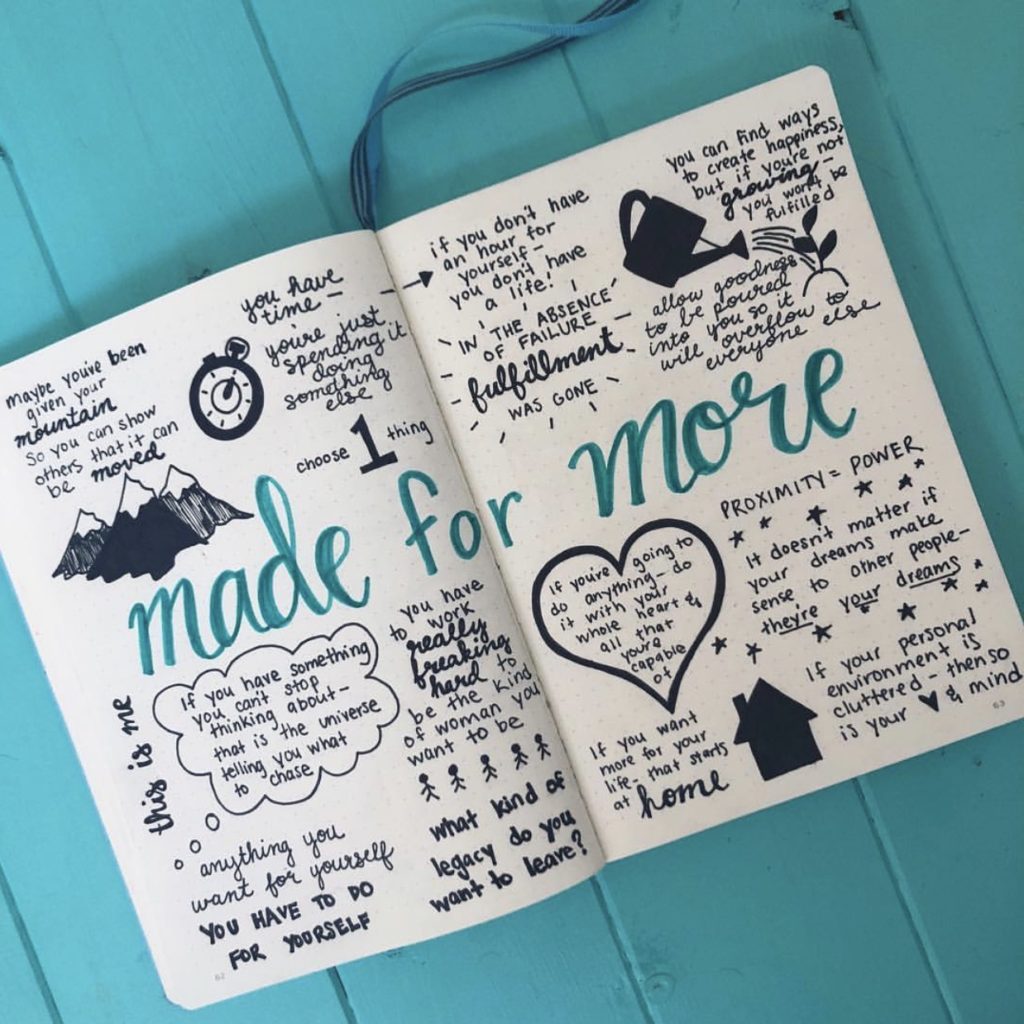
Notes from a documentary (or book, movie, presentation, etc):
Other ideas for bullet journal collections: Books or TV shows you have read, recipes you have made, mood trackers, birthdays to remember, favorite quotes, budget, wish list, dream log, packing list, fertility tracker, sleep log– you name it, you can put it in your bullet journal!
If you want to include a certain spread in your bullet journal try typing “_____ bullet journal spread” on Pinterest and I bet you will find a few good ideas! Just remember it is OKAY if yours doesn’t look just like theirs <3
Outline of my bullet journal:
Now that you know all of the different components of a bullet journal here is an outline of how my journal is organized:
- Index
- Key
- January monthly goals
- January monthly Calendar
- January monthly habit tracker
- January daily pages for the month (collections mixed in the daily pages)
- February monthly goals
- February monthly Calendar
- February monthly habit tracker
- February daily pages for the month (collections mixed in the daily pages)
- Etc
Conclusion:
I think I covered all of the basics to help you start your own bullet journal. If I missed something or you have any questions, please leave them below and I will answer them in the comments or add the answer to this post!
Tap or hover any image to pin for later:


4 Comments
McCall
Bah! I can’t believe this is the first time I’ve finally visited your blog {I came here for the 100 miles by May} and got wayyyyy distracted {in a good way!}
I gave up my bullet journal about a year ago, but now you’re making me re-think my decision :). It really is such a great outlet! And seeing the washi tape on your beautiful weekly spread reminded me of the washi tape + oreo’s that you sent me a couple of years ago…. You’re the sweetest! {You probably don’t even remember doing that}.
Annnnnyways, you’ve been busy with this blog and I am so impressed and inspired by you!
Shelley Jansen
I don’t know how I just saw this–but thanks so much! You are the sweetest!! I defintley remember that!
Beatrice Namutebi
Shelley Jansen,
You are such an inspiration. The information on your website, the art, order, wow!! I stumbled on your website in search of something easy to use to set Goals for 2020. I could not ask for more. I have been glued to my lap top since 6th Jan 2020 reading every word, taking notes. I’m in awe of your excellence and openness to share your experiences. You are also a great teacher. I am totally blessed to tap into your wisdom.
Thank you, Thank you.
Shelley Jansen
Thank you so much Beatrice! It means so much to me that you took the time to write such a kind comment! I’m so glad that you are finding my content helpful!! Thank you for being here!