DIY Lift the Flap Books
Some of the links in this post may be affiliate links. Anything purchased through these links helps support our family at no additional cost to you; thank you for your support!
Does anyone else have a wiggly little one who a has a hard time sitting still for books?! I’ve read to Henry since the day we brought him home from the hospital– but he learned how to crawl a few weeks ago and now he wants to be on the move all. the. time. and is SO squirmy when I try to read to him!
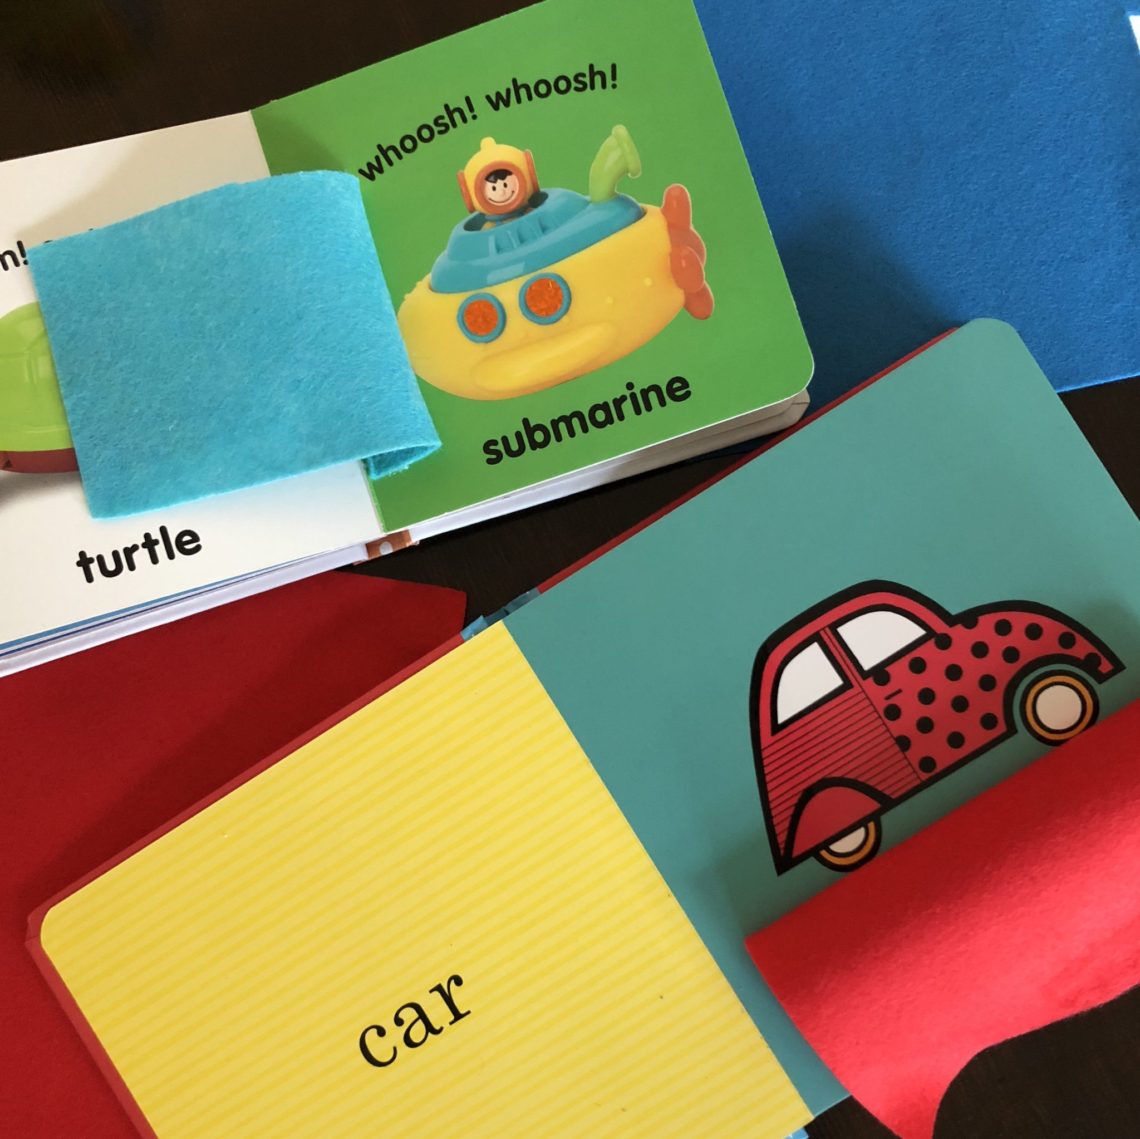
I have found that interactive books really seem to help keep him on my lap and engaged in what I am reading. His current favorite book is a lift the flap book where the flaps are made of felt! The person who created these books is seriously a genius! Not only can these flaps not be torn, but they are soft and easy for babies to manipulate. I was shocked at how quickly Henry figured out how to lift the flaps!

I was so impressed with this book that I went to Amazon to order more. However it seems like all of the books in the series follow a very similar pattern–“Where is the _____? There he is!” and at $8-9 each, I decided to see if I could make my own!
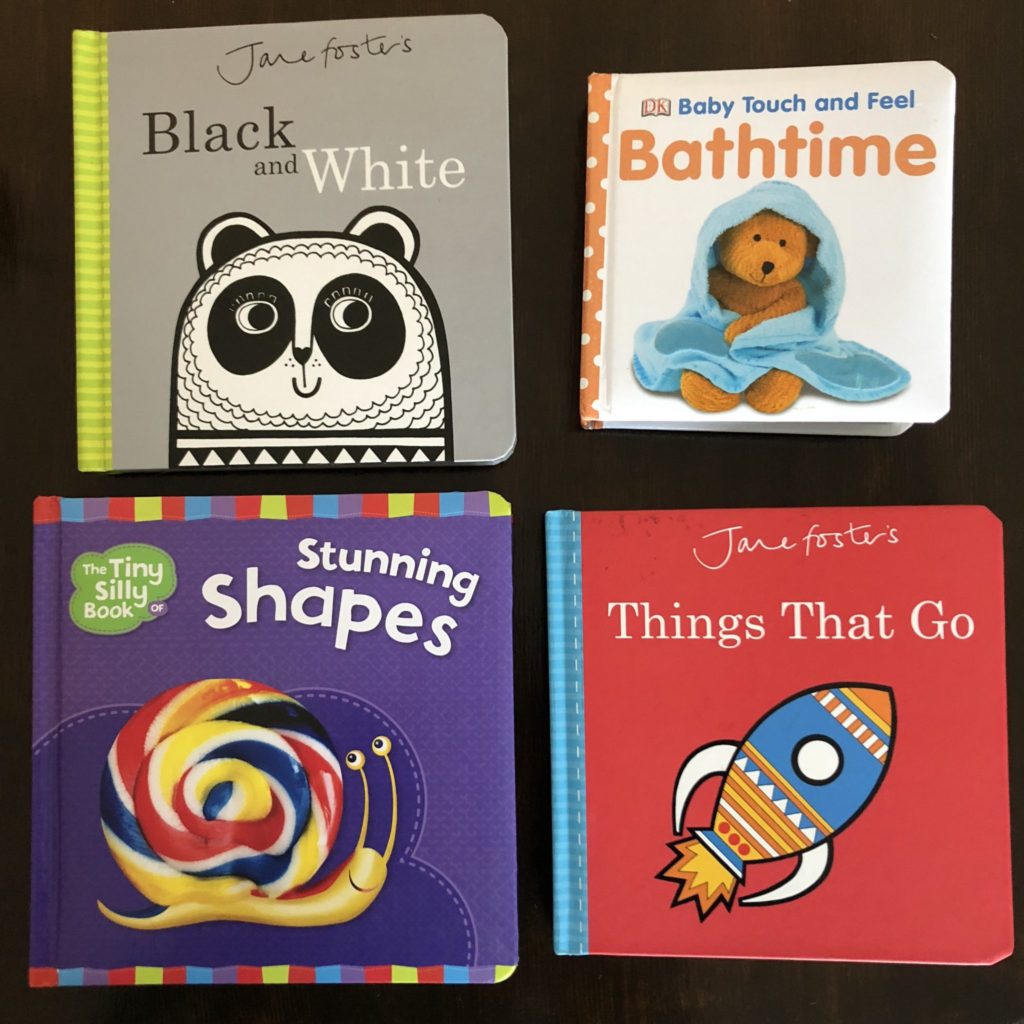
I gathered up some of Henry’s most simple board books. I looked for the books that had very few words and simple illustrations. Jane Foster’s series of books worked perfectly for this project! The “Baby Touch and Feel” books also worked great. I just chose pages that didn’t have a lot of texture on them to add the felt flaps to.
Creating the books was surprisingly easy AND inexpensive! I purchased felt from Hobby Lobby for $0.25 a piece and used hot glue that I already had. I used Gorilla brand hot glue sticks which I highly recommend– they have a much stronger adhesive bond than other brands of hot glue. If you don’t have access to a Hobby Lobby, here is some felt from Amazon that is similar to what I used.
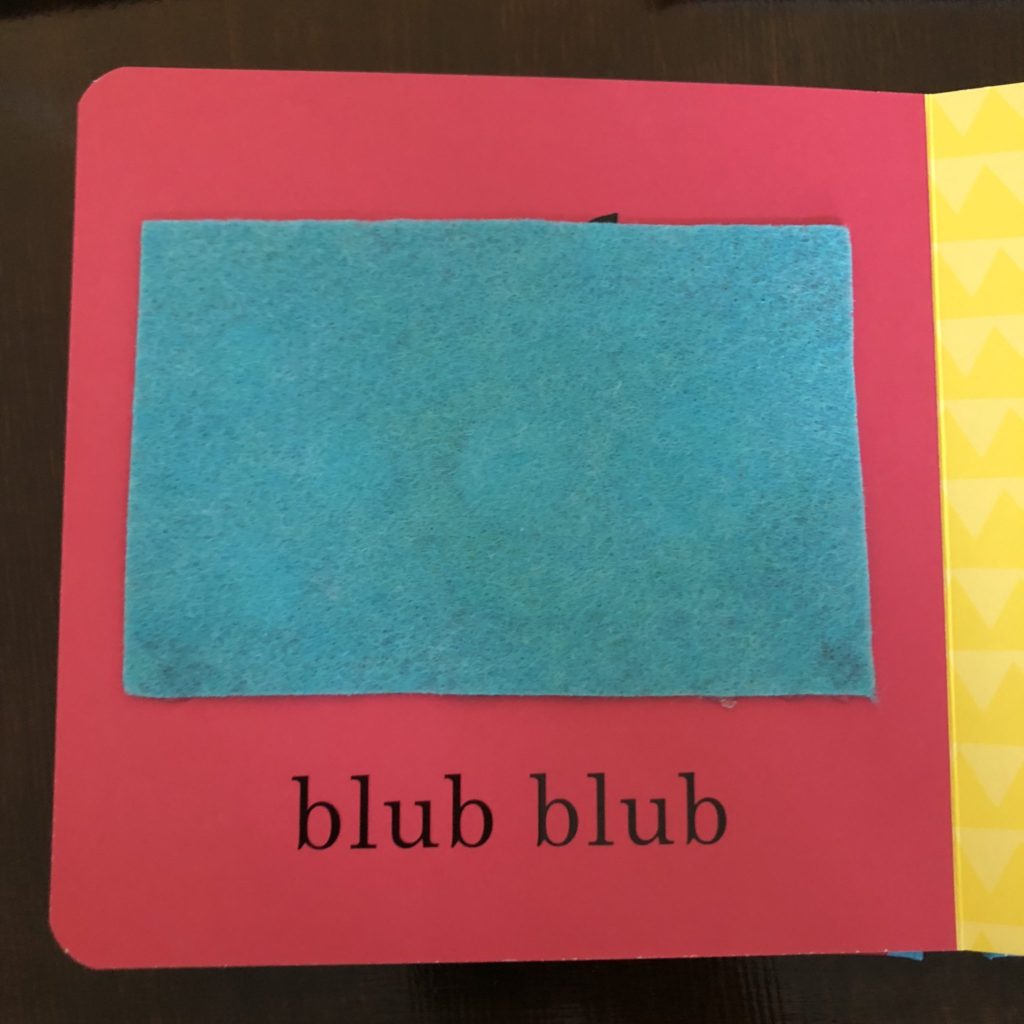
I chose to glue 3-4 pieces of felt in each book so that the book did not become too thick. I simply cut a piece of felt that was big enough to cover the illustration, placed hot glue on one edge and glued it to the page. Make sure to put a pretty thick line of glue so that little hands can’t tear it off the page! 🙂 I also reinforced the corners with a little extra glue. After you have glued on the felt pieces, let the glue dry and set for about an hour or so before letting your little one use it.
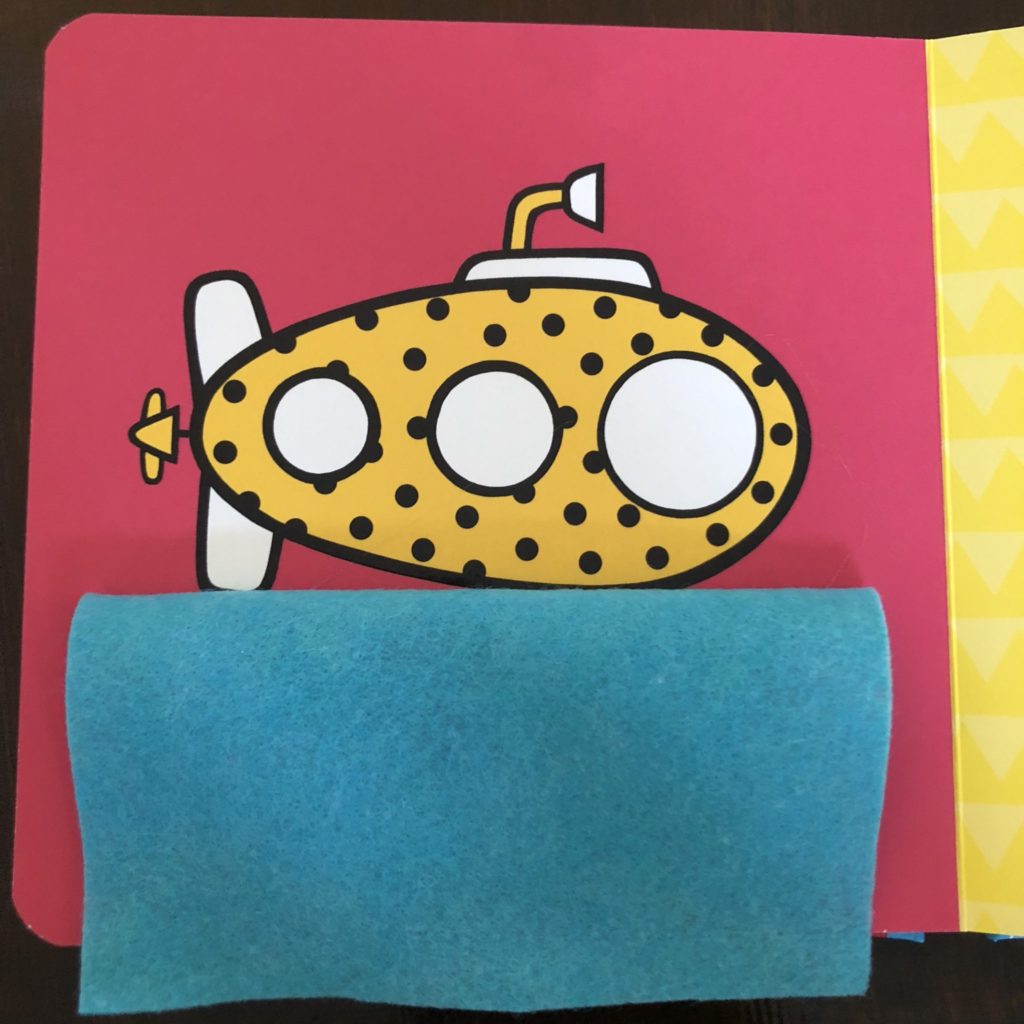
When reading these books with Henry, I always add more words than are actually on the page. I typically ask questions like “Where is the yellow submarine?” and then when he “finds” it, praise him by saying, “There it is! You found the yellow submarine!”. You could then describe what the submarine looks like or tell him what the submarine does–“This yellow submarine has black polka dots. Submarines go in the ocean.” I keep it simple but try to incorporate the vocabulary in several different ways.
With older children you could use the flaps to teach them how to make predictions. You could say, “This type of transportation goes in the water, what do you think it is?” or “This type of transportation only has two wheels; can you think of what it might be?”. Then have them lift the flap and see if they are right!
I hope your little one enjoys this DIY lift the flap book! If you haven’t already seen, I started a new Instagram account with ideas just for little ones. You can see it here! I will be sharing ideas for early learning, promoting literacy and play– I would love if you followed along! 🙂
Hover or tap to pin for later!


You May Also Like
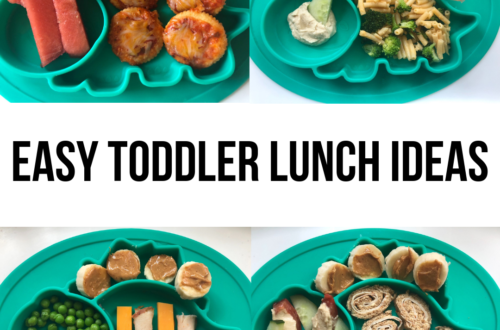
What I fed my toddler for lunch this week
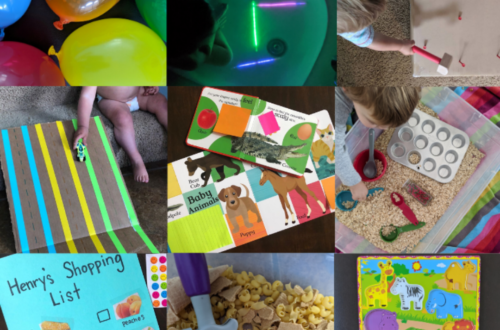
Indoor Activities For Toddlers