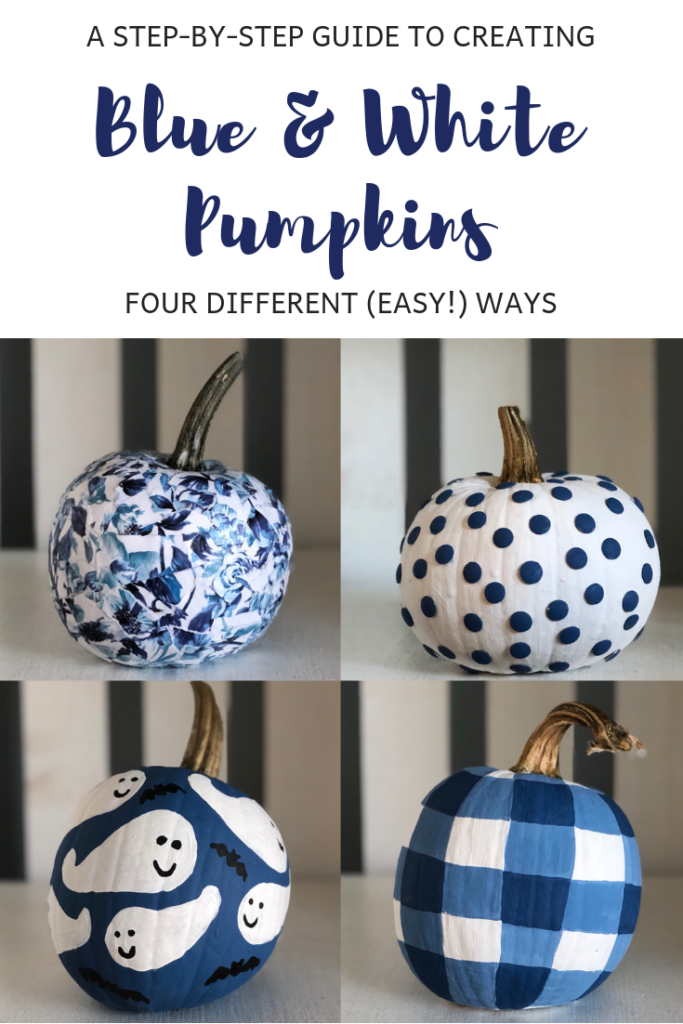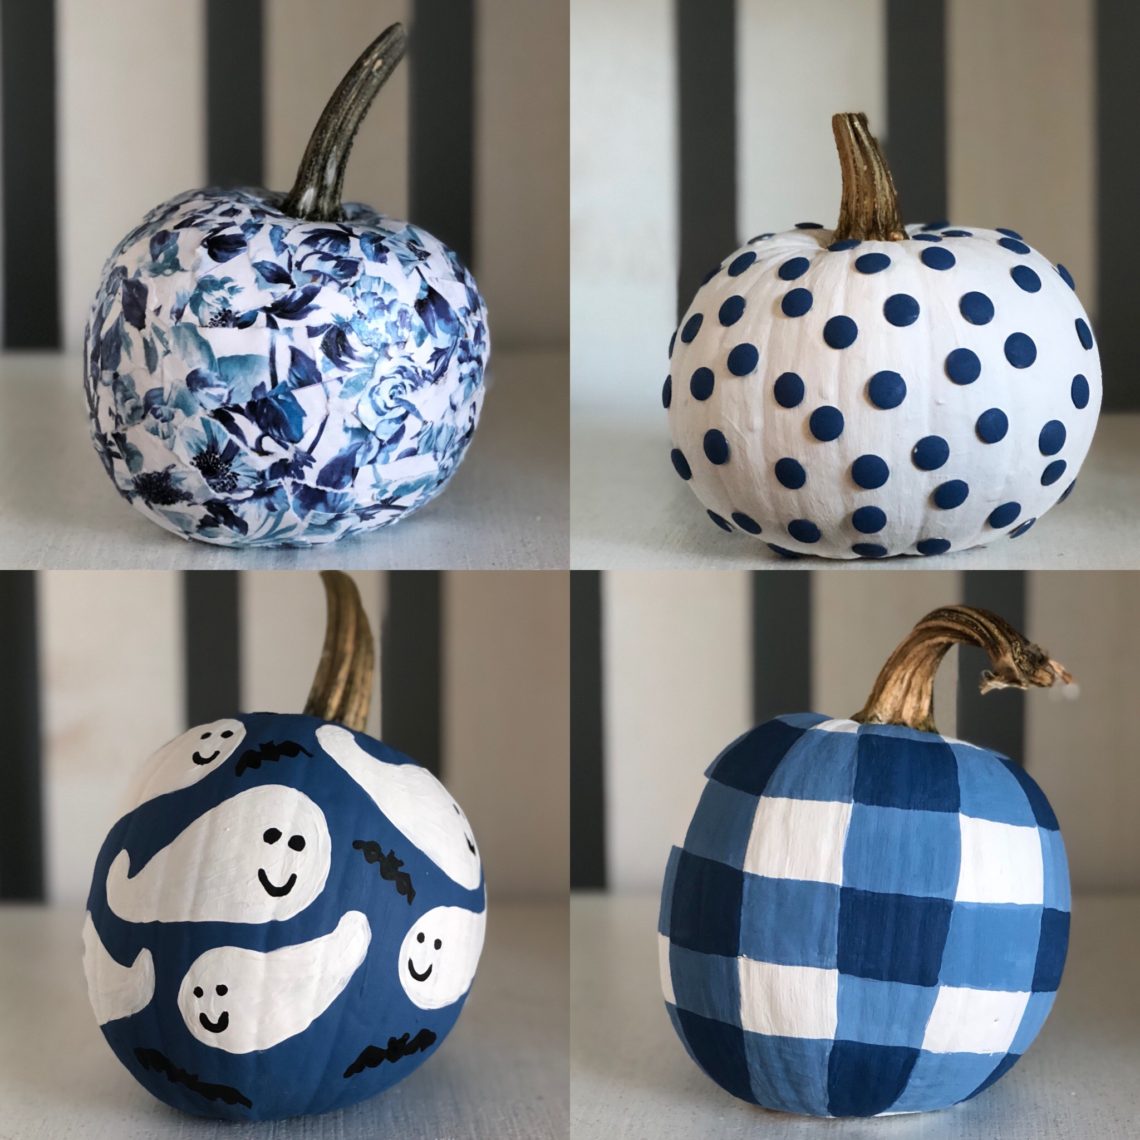
Four Easy Ways to DIY Blue and White Pumpkins
Do you like carving pumpkins? I love the idea of carving pumpkins–but when it comes down to it, I really don’t enjoy it at all. I would much rather decorate my pumpkin in a way that doesn’t involve getting dirty or potentially cutting myself
This year instead of carving my pumpkins, I decided to do something I actually enjoyed! I painted one pumpkin buffalo check, one with a ghost pattern, decoupaged another and used thumbtacks for the last one. I love how all four of them turned out and that they match my blue and white fall decor perfectly! This post will share how to make each of the four blue and white pumpkins, step by step.
Notes before you get started:
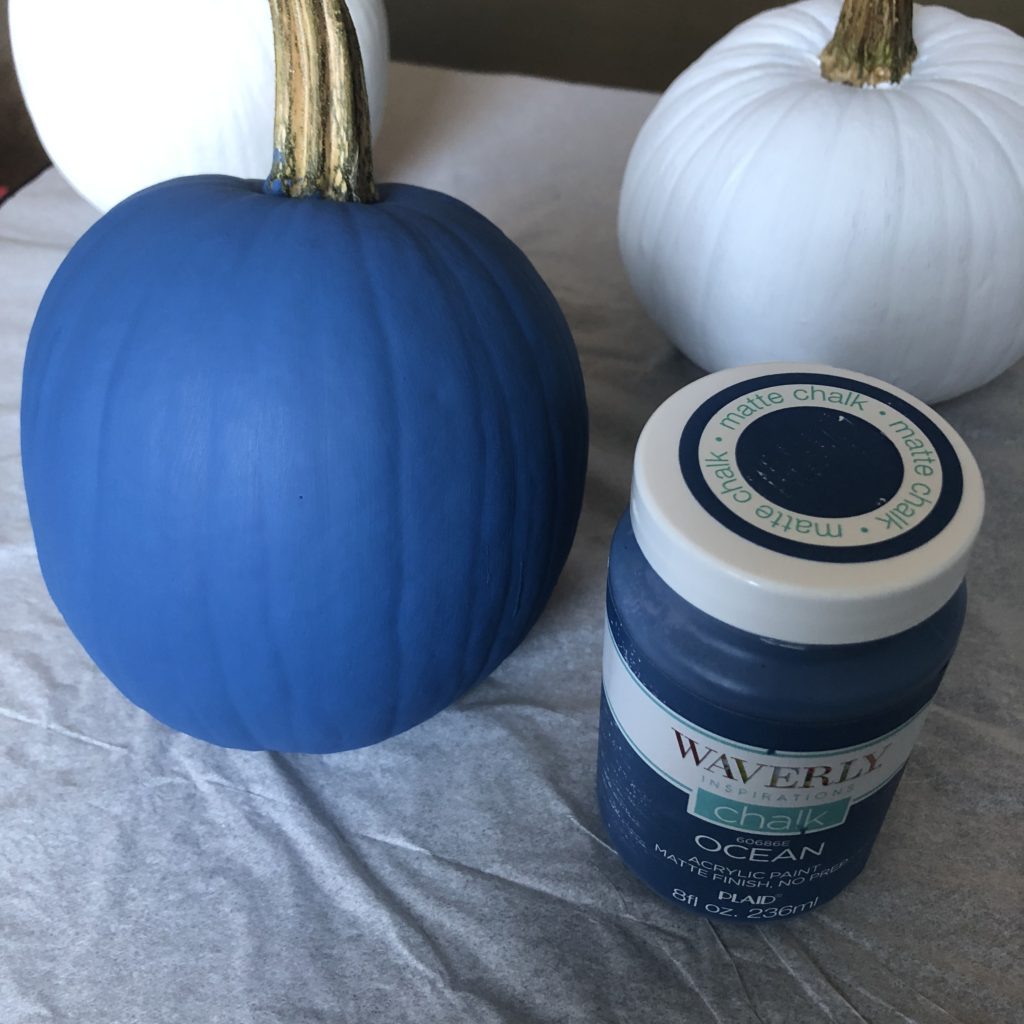
- I used the same two paint colors for all of the pumpkins: Rust-oleum Chalk Paint in Linen White and Waverly Chalk Paint in Ocean (from Walmart!). I chose to use chalk paint because I like the matte look and it also can be painted on just about anything with no prep, so I knew it would work on pumpkins!
- You can use real or artificial craft pumpkins for this project. I used real pumpkins because I wasn’t sure I would like how they turned out–but I’m wishing that I had used artificial ones now so I could save them!
- The pumpkins I used were small, approximately one pound.
- I am keeping these pumpkins inside–I wouldn’t recommend unsealed chalk paint for outdoor use.
- Blue was my accent color, but you could definitely use a different color to match your own decor.
- Some of the links below are affiliate links. Anything purchased through the links on this page helps support our family (at no extra cost to you) and for that, I thank you!
Floral Decoupage Pumpkin
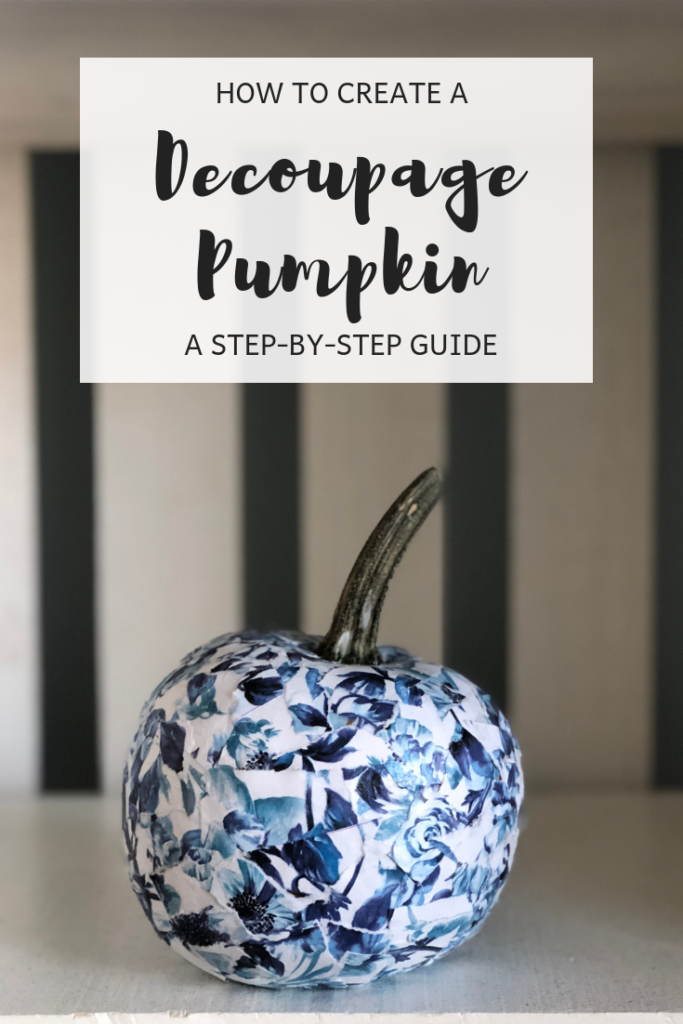
Materials:
- 1-2 pieces of scrapbook paper in the same pattern ( I used less than one sheet for a one pound pumpkin)
- Modge Podge Matte Finish
- Sponge Paint Brush
- Pumpkin
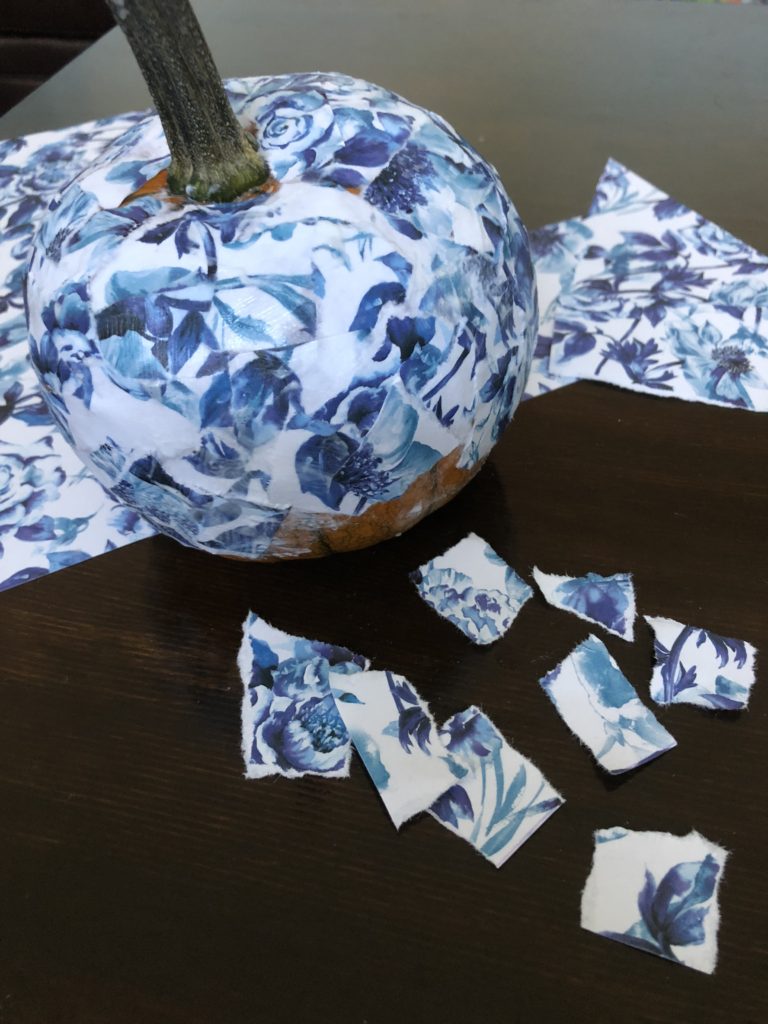
Step 1: Tear your scrapbook paper into small pieces. They don’t have to be exact but around 1″ works well. The smaller pieces you use, the flatter they will lay on your pumpkin.
Step 2: Use your sponge paint brush to apply a thin coat of Modge Podge to a small area of your pumpkin. Place a piece of torn paper on top of the Modge Podged area. Then seal the paper with another coat of Modge Podge on top.
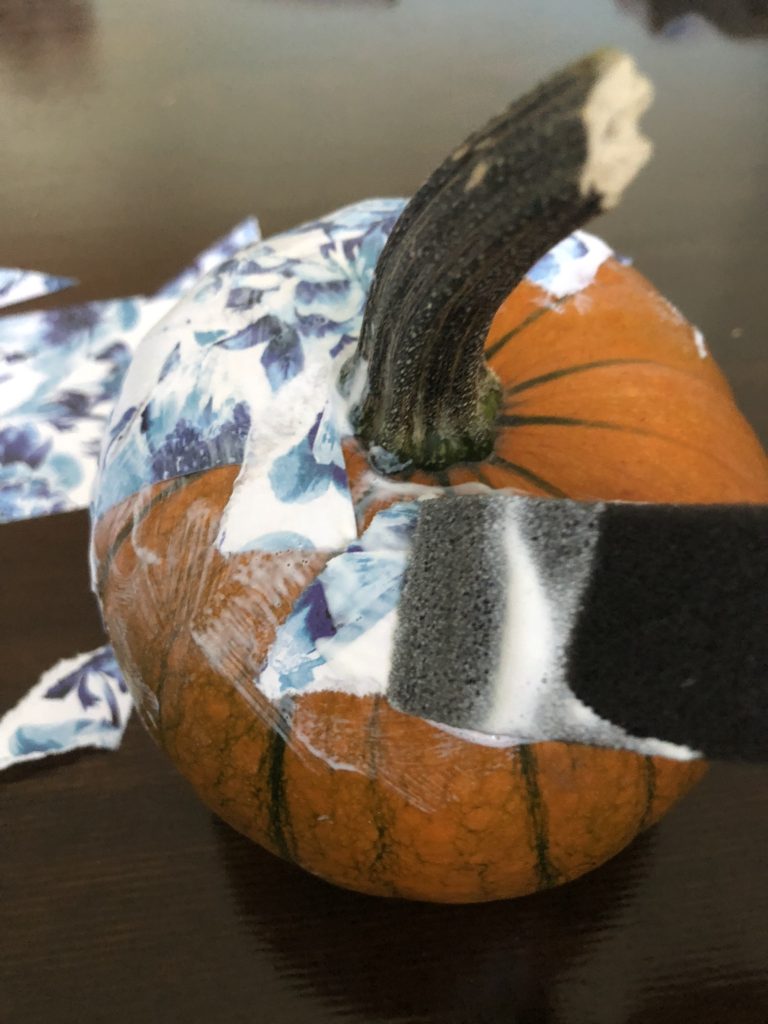
Step 3: Repeat step 2 on the top half of the pumpkin, covering the entire surface of the pumpkin. Let dry, flip pumpkin over and repeat until the entire pumpkin is covered.
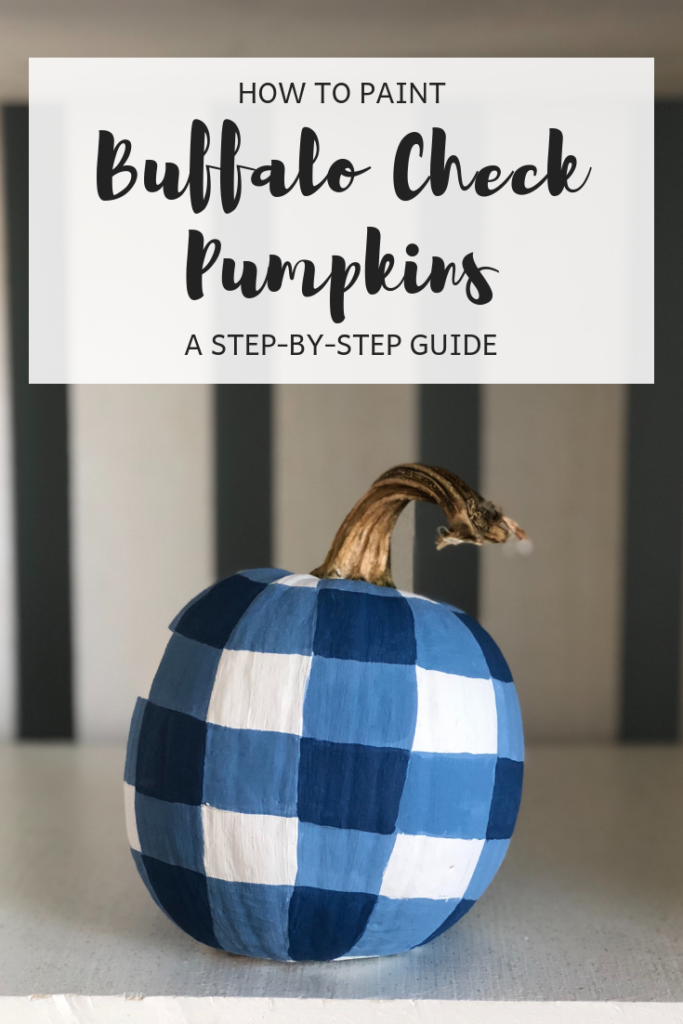
Buffalo Check Painted Pumpkin
Materials:
- White chalk paint
- Blue chalk paint
- Pencil
- Pumpkin
- Flat synthetic paint brush
- Plastic container for mixing paint
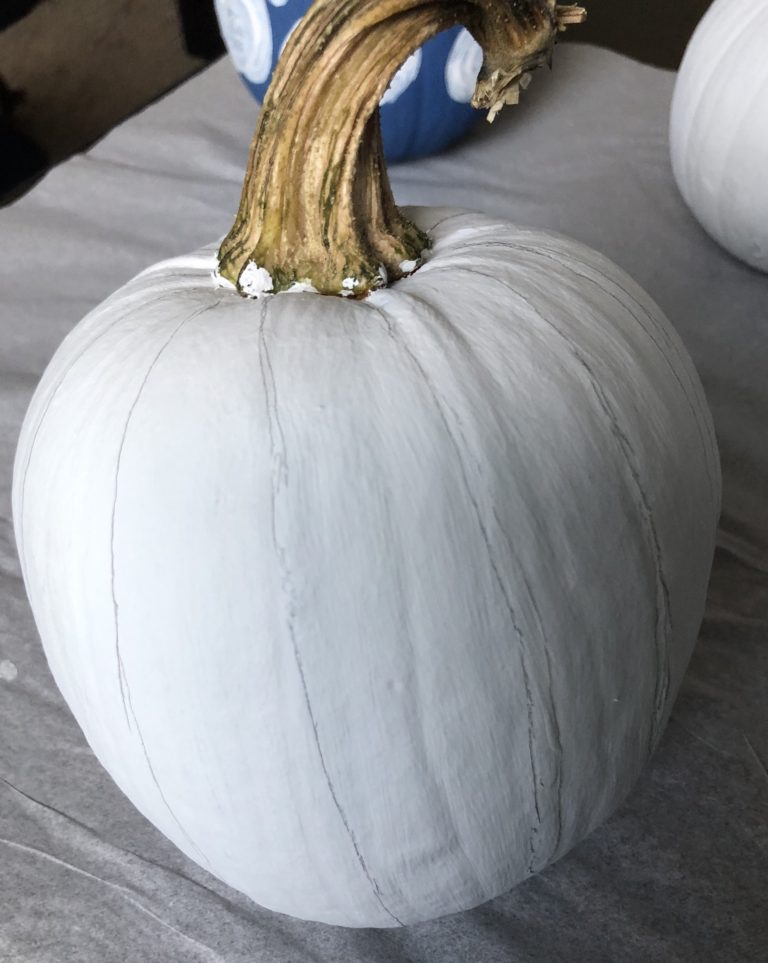
Step 1: Use your pencil to lightly draw vertical lines from the top of your pumpkin to the bottom of your pumpkin. Try to follow the curve of the pumpkin and make the sections slightly wider in the middle– but don’t worry about the lines being perfect! You can touch them up as you go.
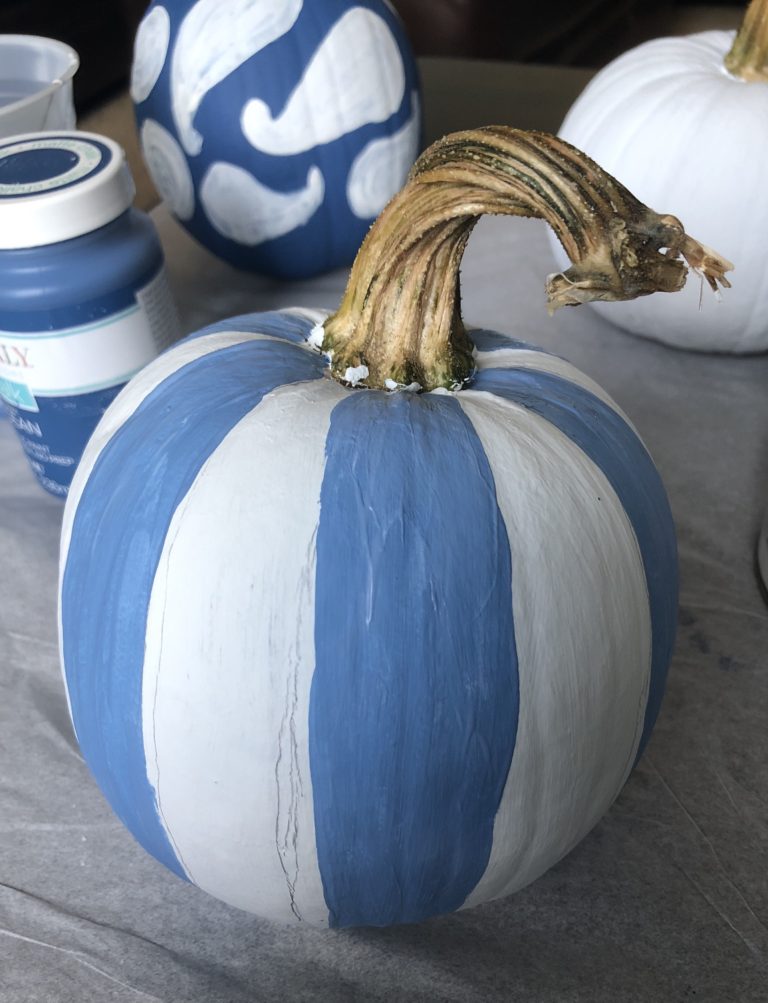
Step 2: Create a light blue color by mixing together ~75% white paint with 25% blue in your container. Use this light blue color to paint every other section.
Step 3: After the vertical stripes have dried, use your pencil to lightly sketch horizontal lines.
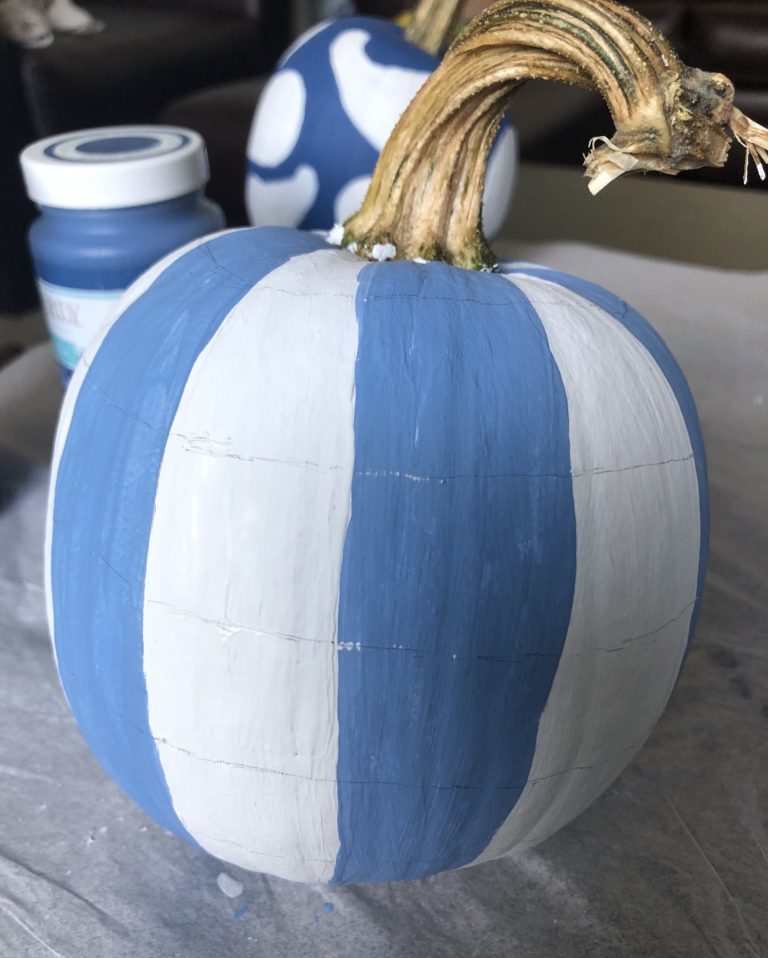
Step 4: Using your light blue paint, fill in every other horizontal stripe.
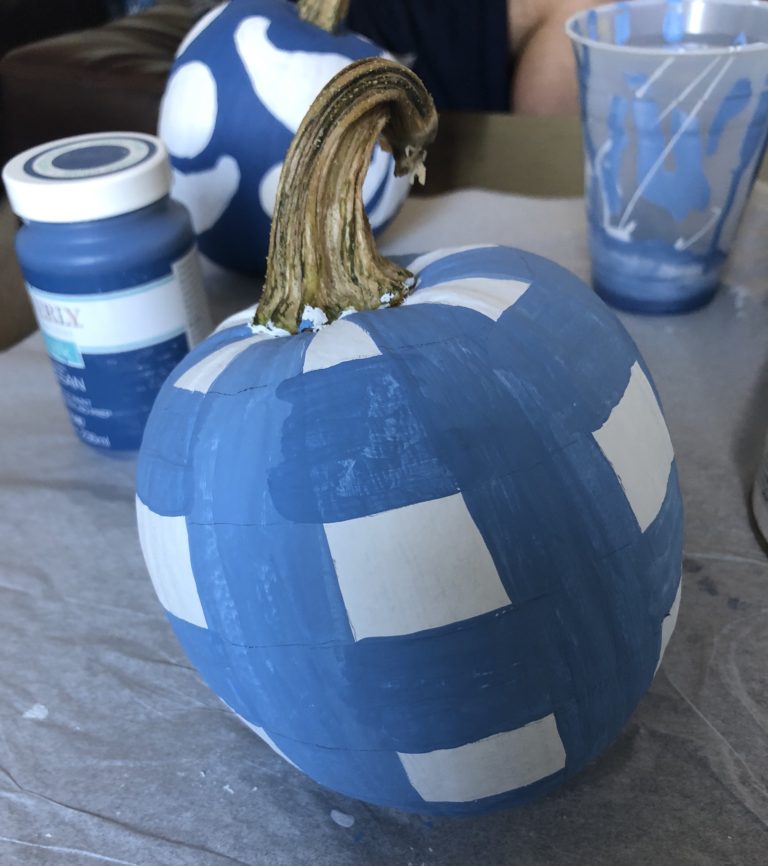
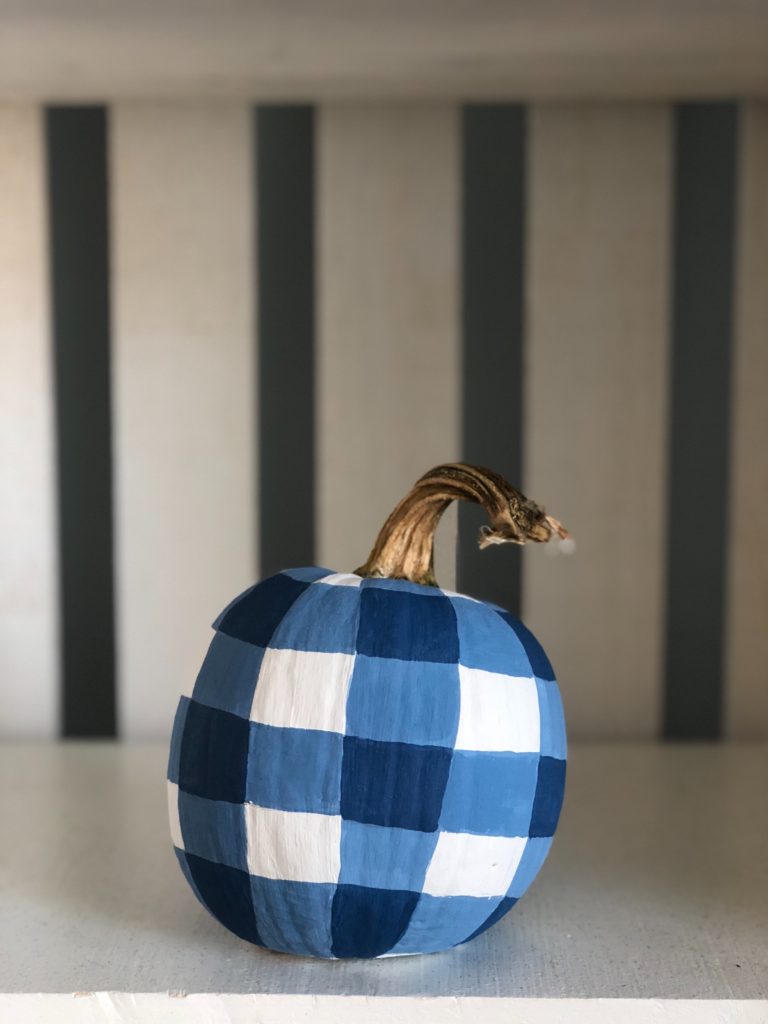
Step 5: Use your dark color to paint in the squares where the lines intersect.
Step 6: Apply a second coat of paint to any areas that are splotchy (or where you can see pencil lines). Let the paint dry and your buffalo check pumpkin is complete!
Ghost Painted Pumpkin
Materials:
- White chalk paint
- Blue chalk paint
- Black acrylic paint
- Synthetic paint brushes
- Pumpkin
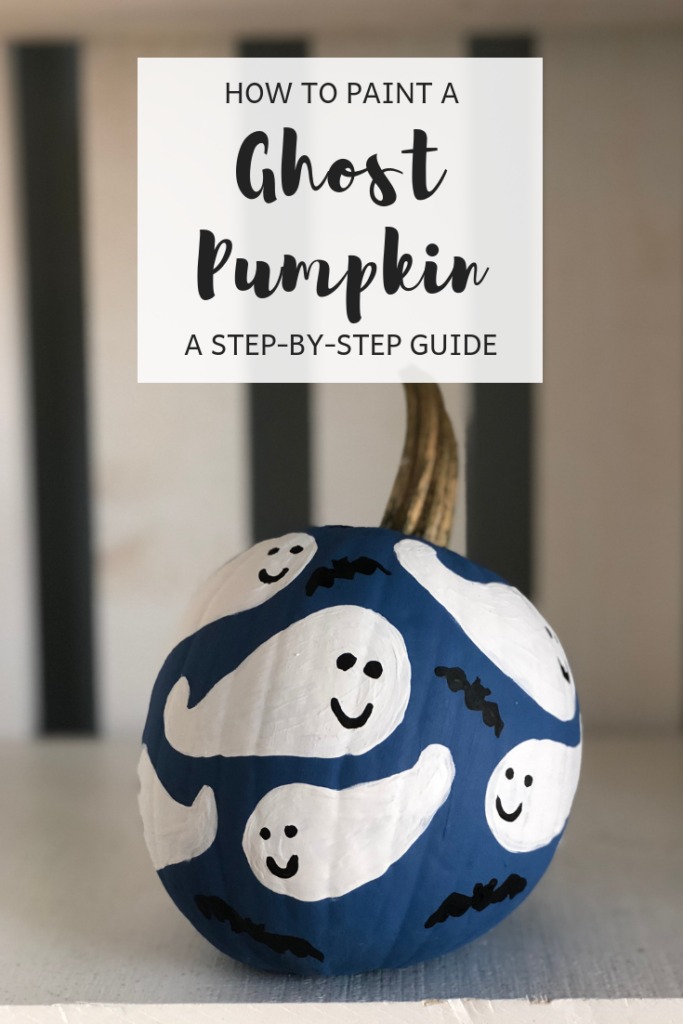
Step 1: Paint your pumpkin blue. Apply 2-3 coats so that it is completely covered.
Step 2: Use white paint to paint your ghosts. I started with a circle, then drew a curved triangle shape and painted it in. Draw ghosts going in all different directions and fill most of the space on your pumpkin with them.
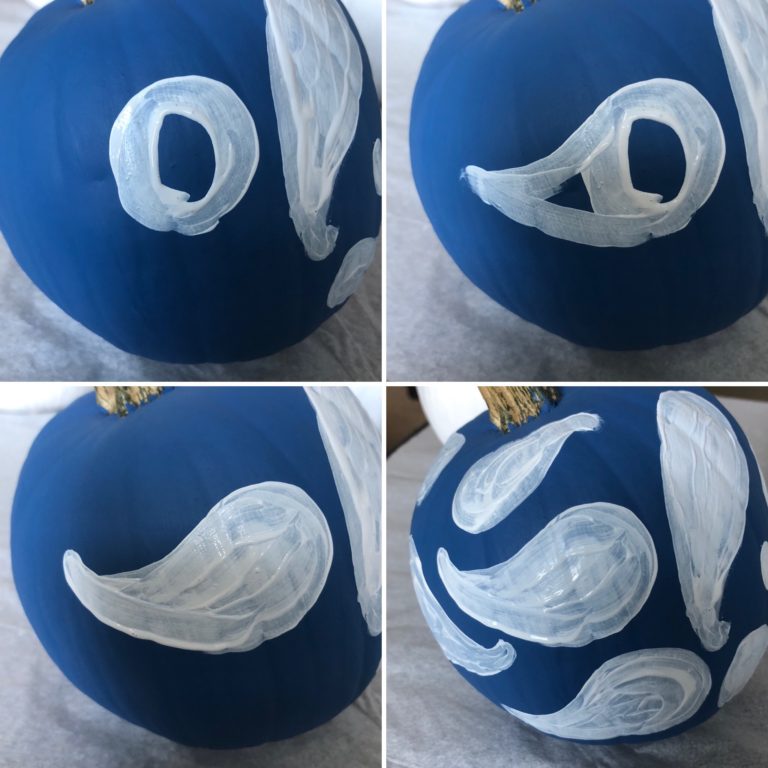
Step 3: Let your ghosts dry and then go over them again with white paint so the paint is not splotchy.
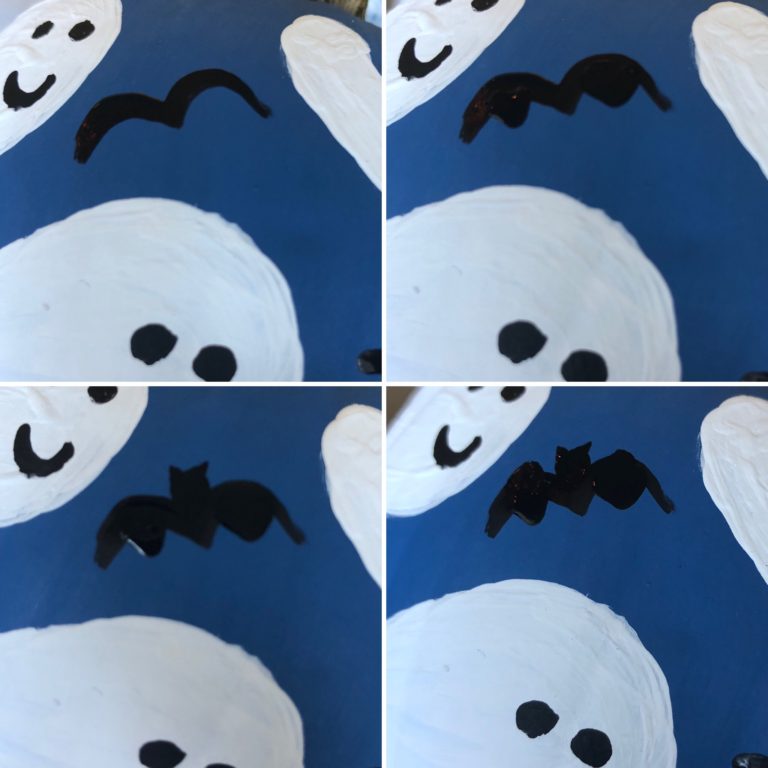
Step 4: After the ghosts have dried, use a small synthetic paint brush and paint the faces on the ghosts as well as bats. To paint the bats I started with a wide ‘m’ shape. I then added points to the bottom of the wings. I also added a head with small ears and made the tops of the wings pointy.
Perfectly Polka Dotted Pumpkin
Materials:
- Circular thumbtacks
- White chalk paint
- Blue chalk paint
- Sponge paint brush
- Pumpkin
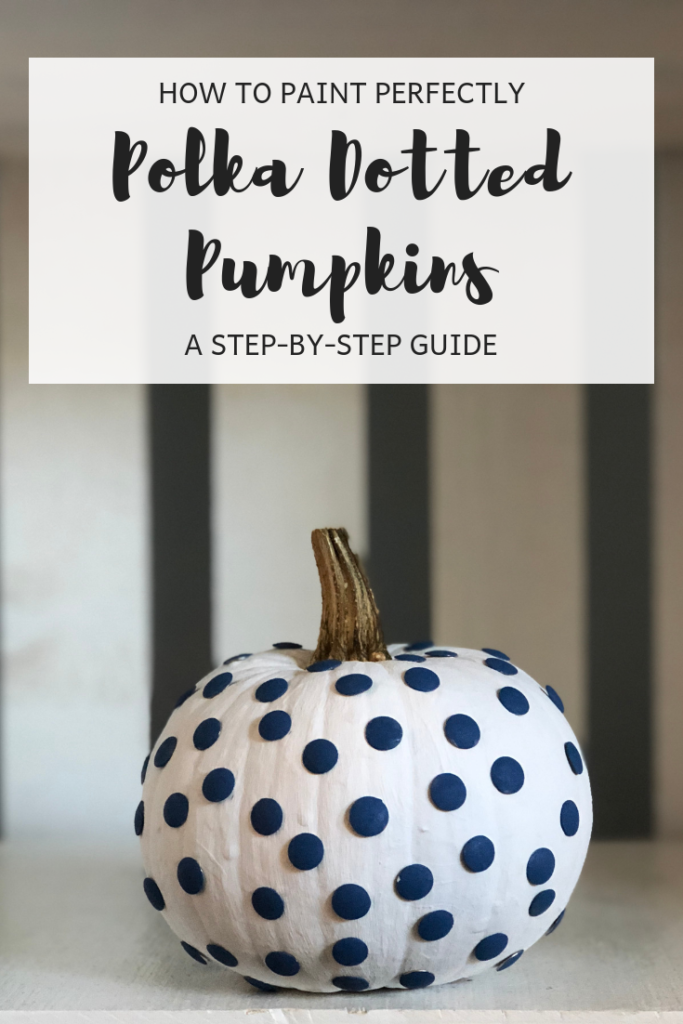
Step 1: Paint your pumpkin white and let dry.
Step 2: Partially insert thumbtacks in the pattern you would like them in. DO NOT insert them all the way.
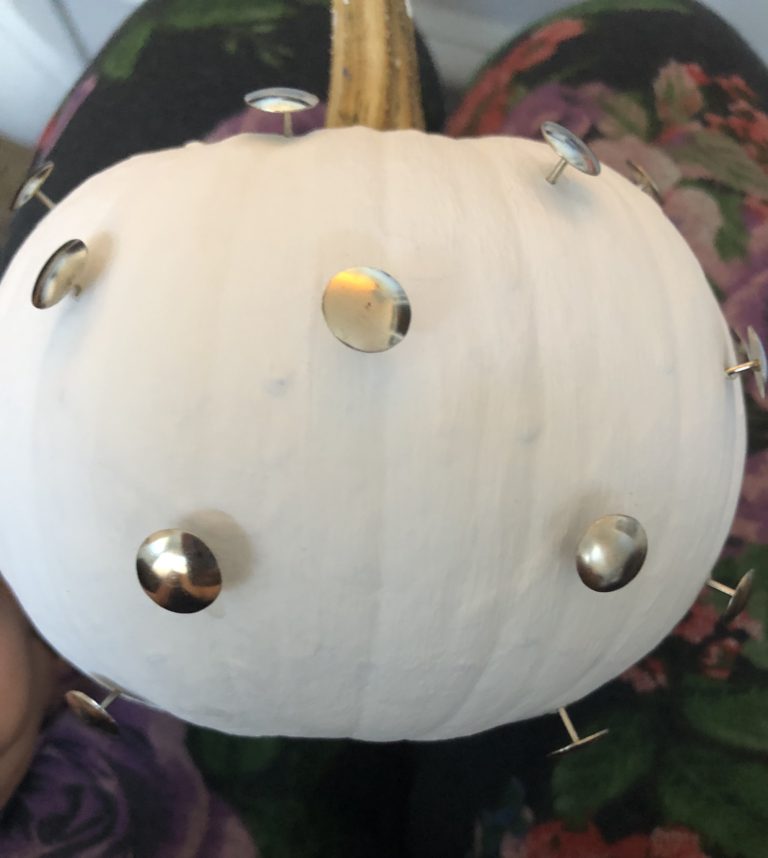
Step 2: Use your sponge paint brush to paint the tops of the thumbtacks blue. Let dry and apply another coat of paint, if needed.
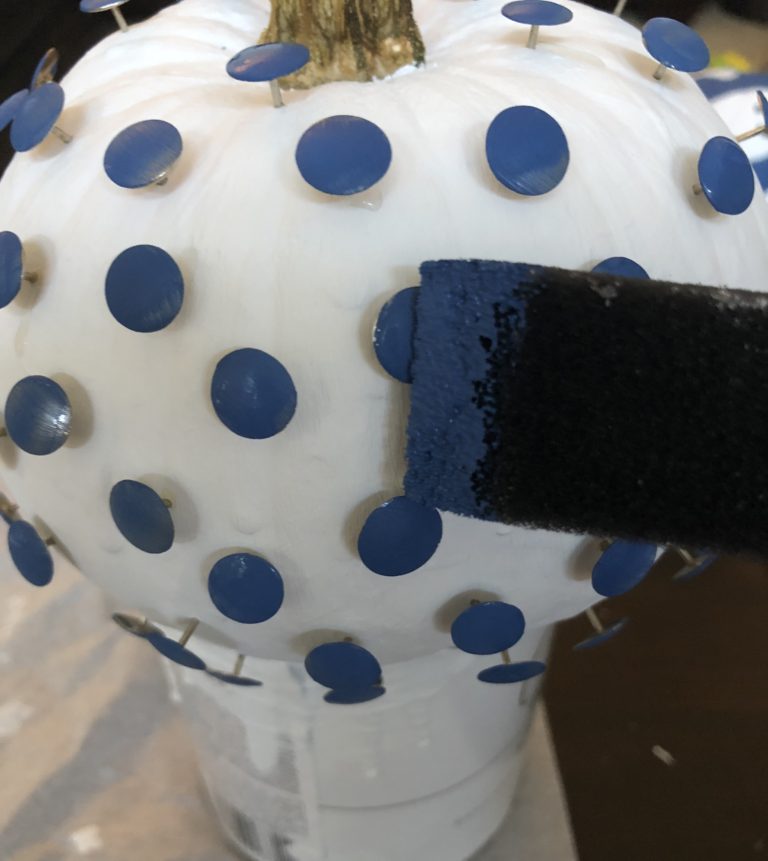
Step 3: After paint has dried, press the thumbtacks in so they are flush with your pumpkin.
I hope these give you some ideas to paint your own pumpkins! If you try any of them, please tag me on Instagram— I would love to see what you create!
Did you already decorate your pumpkins this year? Pin to save for next year!
(If you are on a mobile device, tap any picture to show “Pin It” button)
