Washi Tape Pumpkins
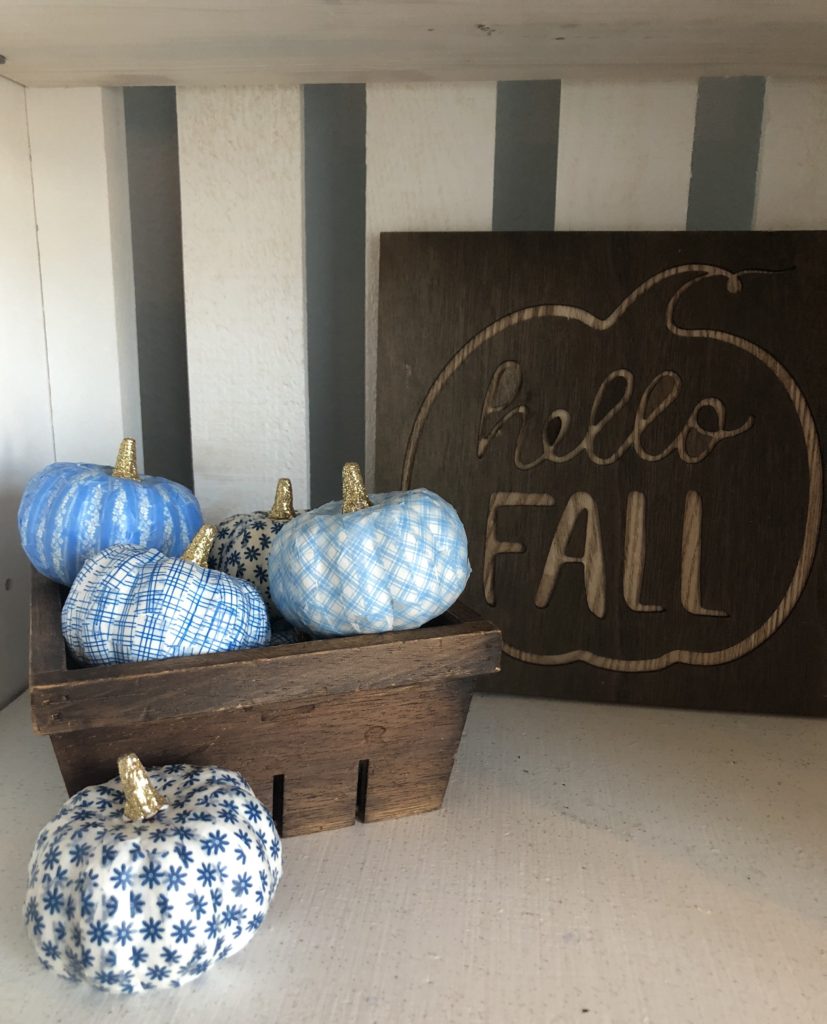
I’ve always decorated in traditional black and orange for Halloween and fall. However, this year I had JUST finished decorating our living room in blue and white and wasn’t mentally prepared to start decorating in a whole different color scheme. So, for the first time, I went with a nontraditional blue and white color scheme for my fall decor.
I love holiday decorating–but I hate spending a lot of money on it! It seems silly, when the decor is only out a few months of the year! It also turns out that there isn’t a lot of blue and white fall decor available in stores, which is why I decided to do a LOT of repurposing of our traditionally colored decorations, as well as DIY projects.
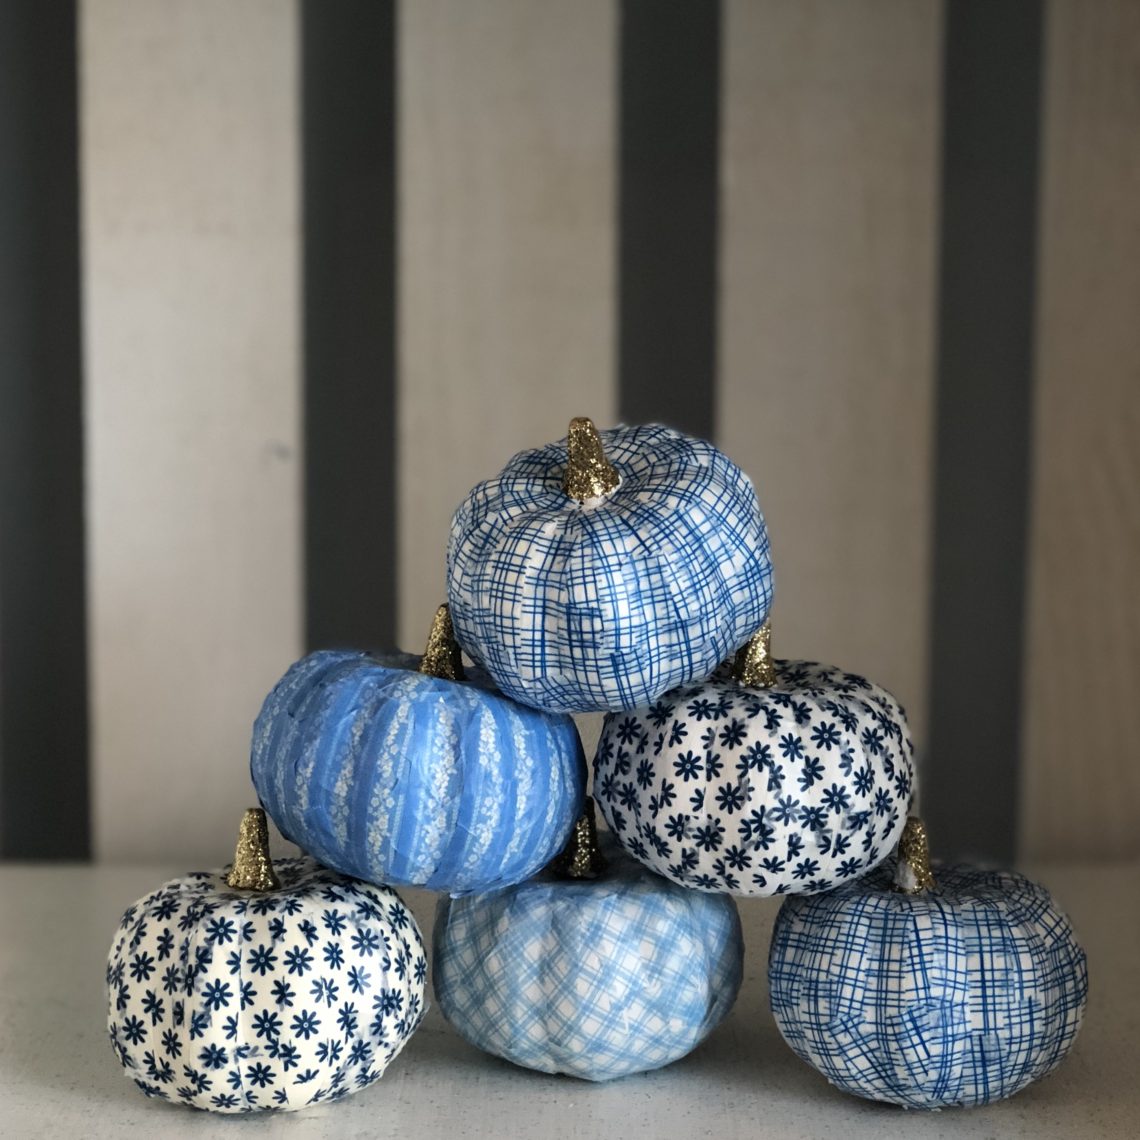
One of the easiest ways that I was able to transform some of our old orange pumpkins was with washi tape! I chose a few different blue patterns and simply covered my pumpkins with it. I love the texture it creates up close–yet far away you can’t even tell it’s tape!
You could choose any color or pattern of washi tape for this project! It would look cute in traditional Halloween colors, in reds and browns, or even with some fun bright colors! This would be a great project to do with kids–because it is pretty hard to mess up 😉
Through trial and error, I learned that thinner washi tape tends to look smoother. However I was using small faux pumpkins that were ~3″; if you use bigger pumpkins, thicker washi tape would probably work just fine. These are the pumpkins I used, with glitter stems. I painted the orange and black pumpkins white prior to starting this project so the color wouldn’t show through the tape.
Here is how to do this easy DIY:
Materials:
- mini artificial pumpkins ~3-4″
- washi tape (narrow 6-8 mm works best)
- Modge Podge matte finish
- sponge paintbrush
Step 1: Tear off short pieces of washi tape and place them vertically on all sides of your pumpkin. I used pieces ~1-2″ long.
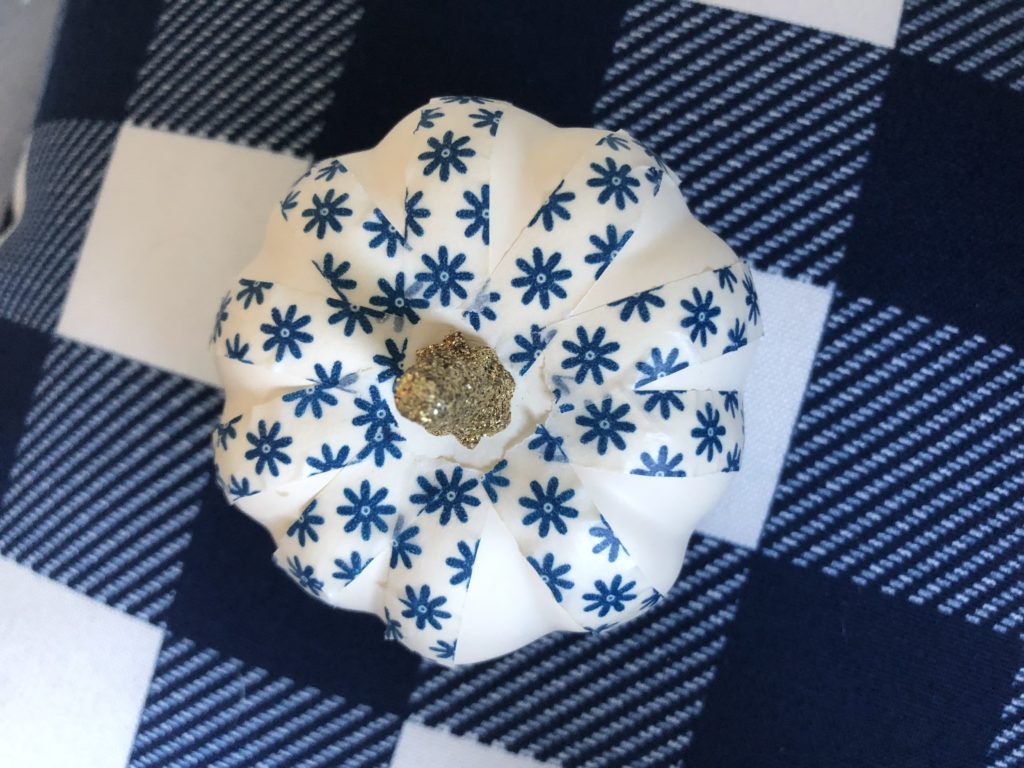
Step 2: Fill in any remaining bare spots with washi tape. Try to keep most of the tape vertical, but in certain places (like around the stem) you may need to change the direction of the tape.
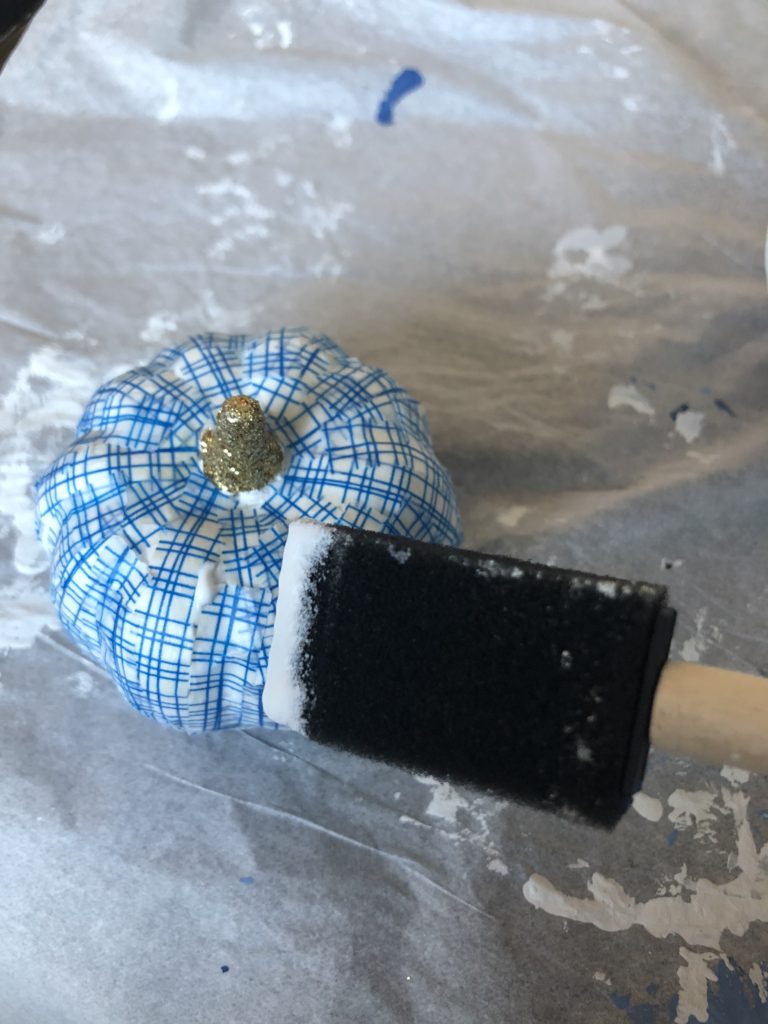
Step 3: After the entire pumpkin is covered with washi tape, press down on all of the edges of washi tape, so they lay flat against the pumpkin. Then, use a sponge paint brush to coat the entire pumpkin with Modge Podge, focusing especially on the ends of the washi tape pieces. Apply 1-2 coats.
Step 4: Let your pumpkin dry and you’re done! If you add your washi tape pumpkins to your fall decor, tag me on Instagram! I always love seeing what you create 🙂
Did you already decorate your pumpkins this year? Pin to save for next year!
(If you are on a mobile device, tap picture to show “Pin It” button)


You May Also Like
Creating a Reusable To-Do List

Christmas Bucket List Activity Jar