DIY Plaid Christmas Trees
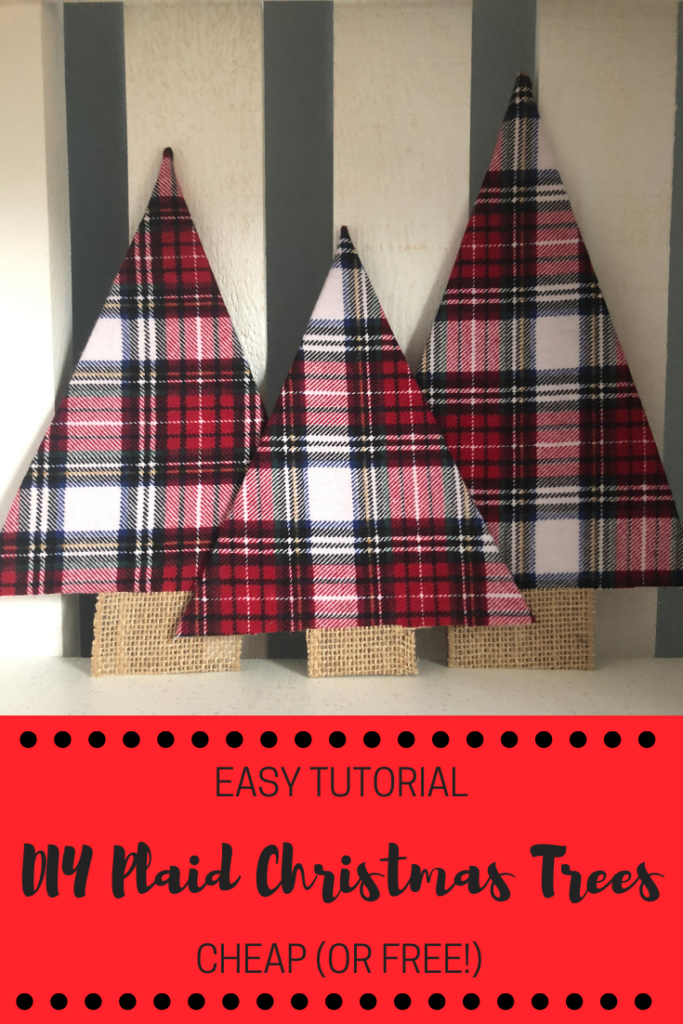
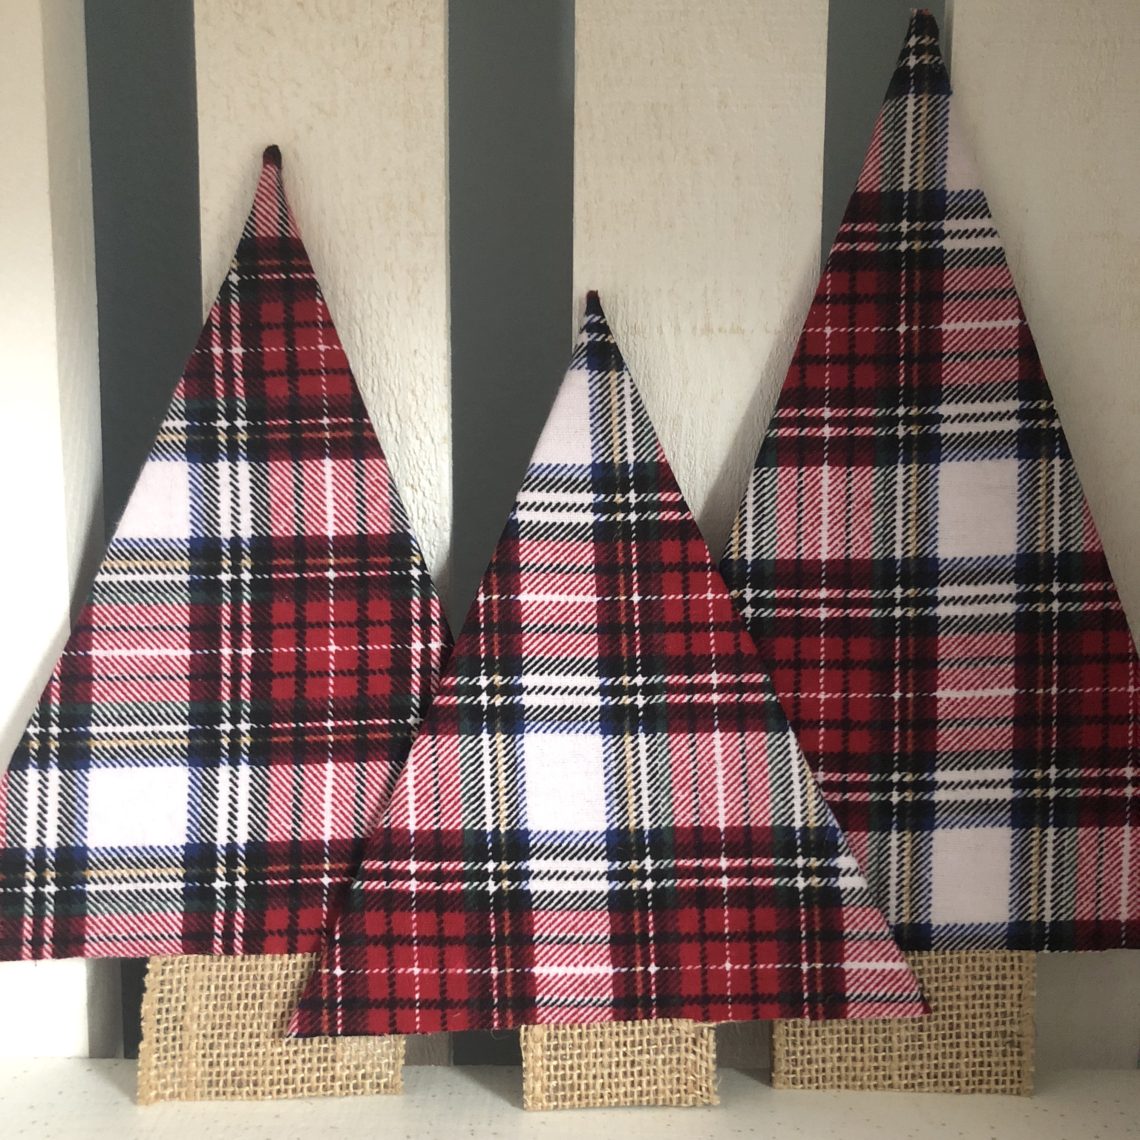
These DIY plaid Christmas tree decorations are SO easy to make and cost very little (or nothing!) to create! They are a great filler item for your seasonal farmhouse or rustic decor.
This year is our first Christmas in our new home AND the first Christmas in years that we will be spending in our own home instead of traveling! Because of these two reasons, I was really excited to decorate this year! However, I quickly found out that I didn’t have even close to enough decorations to fill the space on our shelves. I bought a few things, but I didn’t want to spend a ton of money on decorations when we were already spending so much on gifts– so I decided to DIY as much as possible.
I was inspired to make this easy DIY project after seeing these sweater trees! I happened to have some leftover plaid fabric from making plaid Christmas signs so I decided to use the same fabric to create these trees. I love how the plaid trees came out and that they help fill some space on my shelves! Best yet–they cost hardly anything!! I used the “Snuggle” flannel fabric from Joann’s that I got on sale. A yard only cost me a few dollars and I have used it for several DIY projects this holiday season. You could also use an old flannel shirt you have at home to make it even cheaper!
Here is how to make your own DIY plaid christmas tree:
1. Use a sharpie to draw simple Christmas tree outlines on a piece of cardboard (I reused an old Amazon box!) Cut them out.
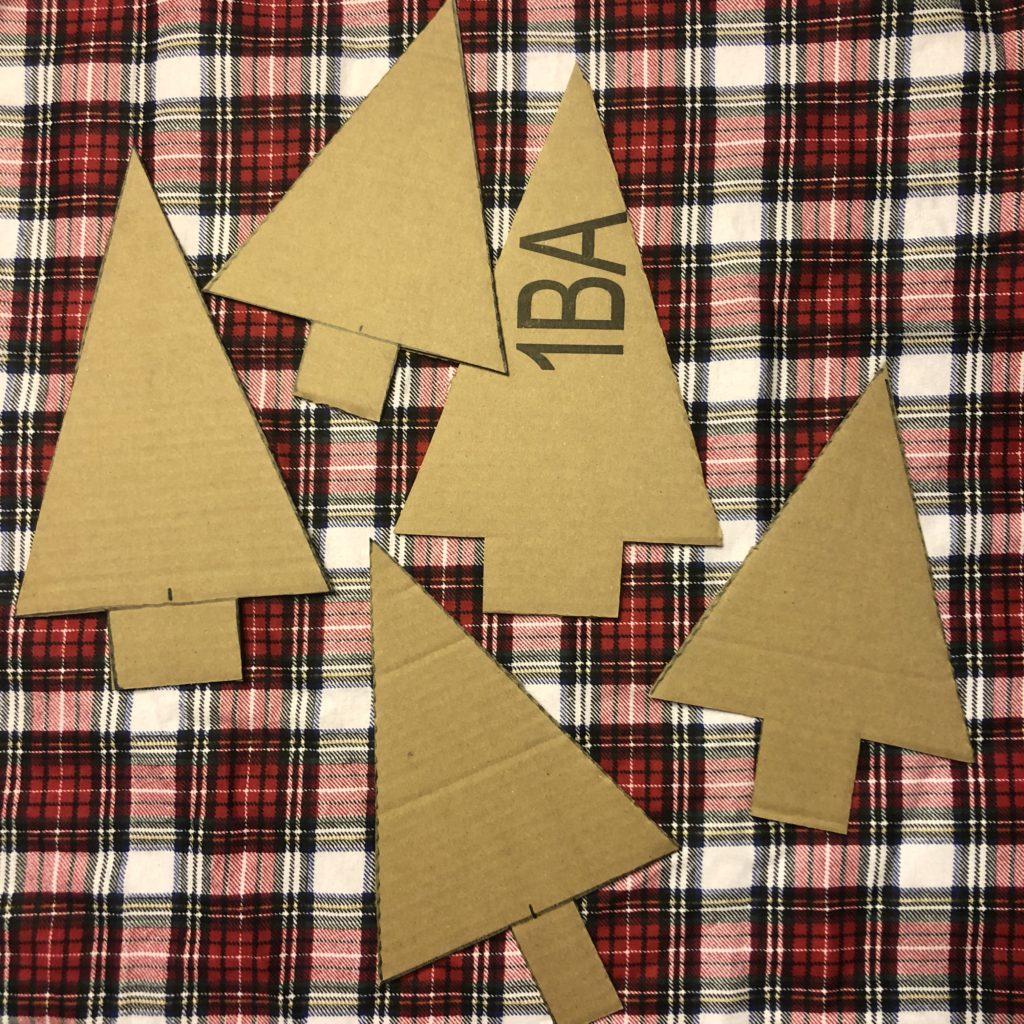
2. Use the cardboard shape as a guide to cut out a piece of fabric that is roughly 1/2 inch larger than the cardboard. I just laid cardboard on top of the fabric and then ( very sloppily) cut around it.
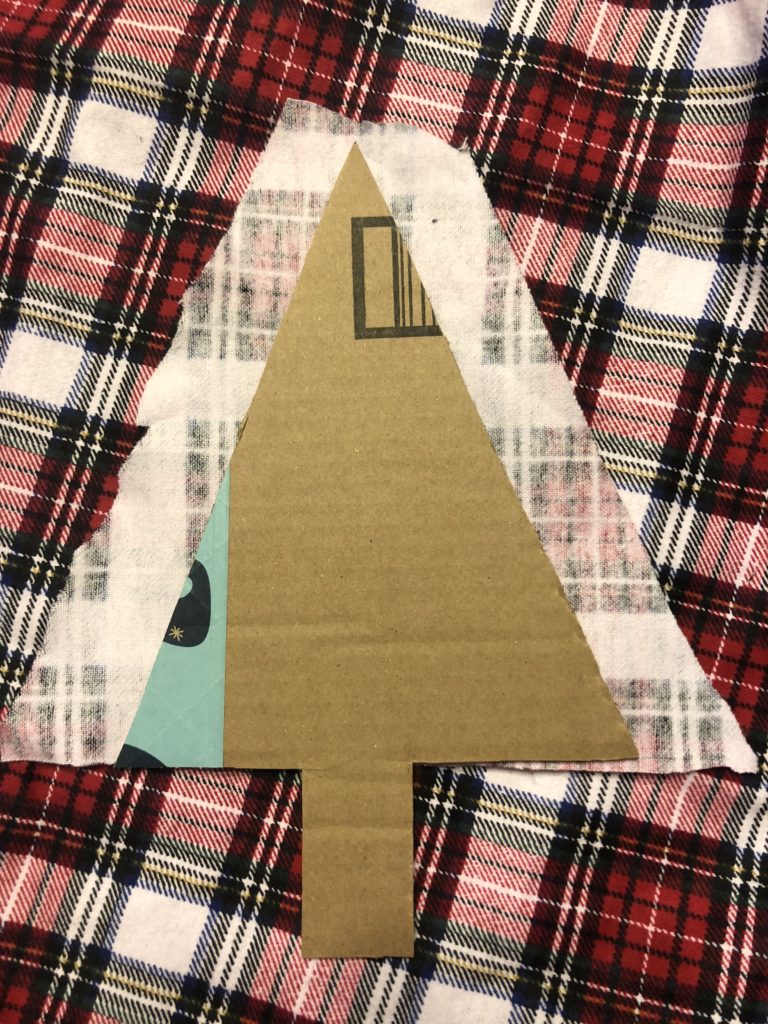
3. Fold the flaps of fabric onto the back of the cardboard and use hot glue to secure. Trim any extra fabric that is visible from the front…and that is it! Easiest and cheapest DIY ever! I chose to glue some pieces of burlap ribbon as the trunks, but you could leave it as plain cardboard as well.
Hover or tap to pin for later:
